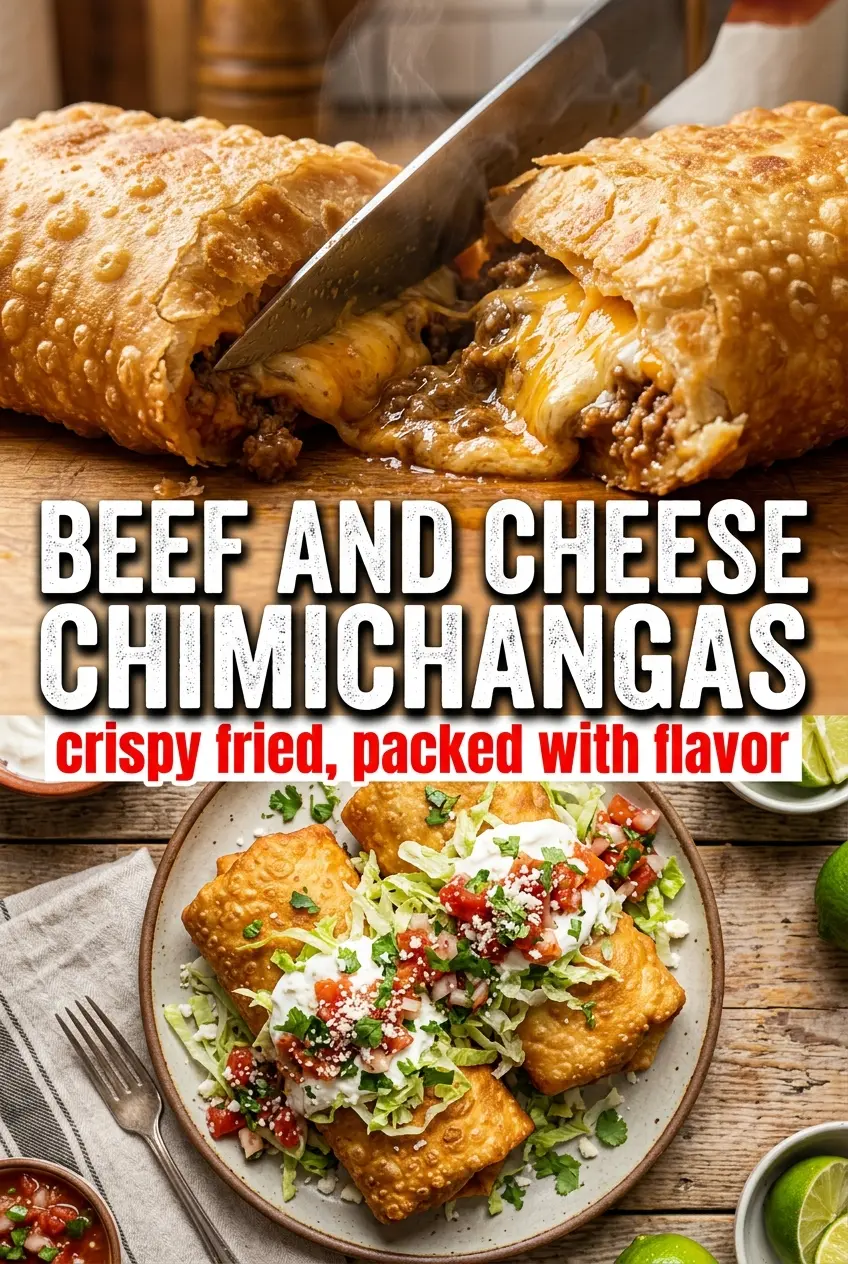
Crispy beef and cheese chimichangas are one of those dinners that disappear fast because the payoff is immediate: a shattering golden shell, hot seasoned beef inside, and cheese that goes properly molten the second you cut into it. The best ones aren’t greasy or floppy. They stay tight, fry up evenly, and give you that loud crackle when the fork goes in.
What makes this version work is the balance of a thick beef filling and a firm tortilla wrap. The beef gets cooked down with onion and taco seasoning until the moisture is mostly gone, which matters because a wet filling will steam the tortillas instead of crisping them. The cheese goes in with the filling, but not so much that it turns the whole thing loose and hard to seal. That combination gives you a chimichanga that holds together in the oil and still tastes rich and satisfying.
Below you’ll find the little details that keep the shells from opening in the pan, plus a few smart swaps if you want to bake them or stretch the filling a different way.
The beef filling thickened up perfectly and the tortillas fried up crisp without getting greasy. I used the toothpicks for the first batch and they held closed beautifully.
Crispy beef and cheese chimichangas with a sealed, golden shell are perfect when you want a fast dinner that still feels like a treat.
The Reason Chimichangas Stay Crisp Instead of Going Soggy
The filling has to be dry enough to sit in a tortilla without leaking steam into the shell. That’s the mistake that ruins most chimichangas. If the beef mixture still looks saucy after the taco seasoning and water have cooked down, keep it on the heat a minute longer until it clings to the meat instead of pooling in the pan.
Wrapping matters too. A loose roll opens in the oil, and once that seam lifts, hot oil slips inside and ruins the texture. Tuck the sides in first, roll tightly, and set the seam side down in the pan so it seals before you flip it.
- Ground beef — A 80/20 or 85/15 blend gives you enough fat for flavor without leaving the filling greasy. If your beef renders a lot of fat, drain it before adding the seasoning so the tortillas don’t absorb it.
- Onion — The onion softens into the beef and keeps the filling from tasting flat. Dice it small so it disappears into the mixture instead of poking holes in the tortillas when you roll them.
- Taco seasoning — A packet keeps this fast, but the real job is thickening the meat with spice and salt. If you use homemade seasoning, add it a little at a time and taste once the beef has reduced.
- Mexican blend cheese — This is the melt and stretch factor. Pre-shredded works fine here, though freshly shredded cheese melts a little smoother if you have the extra minute.
- Flour tortillas — Use the large burrito-size tortillas so you have enough surface area to fold in the ends cleanly. If the tortillas crack when you roll them, warm them for a few seconds first so they stay flexible.
- Vegetable oil — Use a neutral oil with a high enough smoke point for frying. You want steady heat, not smoking oil, or the outside browns before the tortilla has time to crisp all the way through.
How to Build the Filling and Fry the Shell Without Breaking It
Brown the Beef Until the Pan Is Dry
Cook the ground beef and onion over medium-high heat until the beef is no longer pink and the onion has softened, about 6 to 7 minutes. Break the meat into small crumbles as it cooks so the filling packs neatly inside the tortillas. If there is a lot of liquid in the pan at the end, drain it off before moving on. Wet filling is the fastest path to a soggy chimichanga.
Cook the Seasoning Into a Thick Paste
Stir in the taco seasoning and water, then let it simmer for about 2 minutes. The mixture should look thick and cohesive, not loose or soupy. You want the seasoning to coat the meat and leave just enough moisture to hold the filling together. If the pan still looks glossy with liquid, keep cooking until the mixture starts to pull away from the skillet.
Roll Tight, Then Set the Seam
Spoon the filling and cheese into the center of each tortilla, then fold the sides in before rolling it up like a burrito. Keep the roll snug without overstuffing it, or the seam will burst once it hits the oil. If needed, use a toothpick to hold the shape, but the real seal happens when the seam goes into the pan first.
Fry at 350°F for a Deep Golden Finish
Heat about 1 inch of oil to 350°F and fry the chimichangas seam-side down first. That first side sets the seal, and the rest of the frying is just about building a crisp, even crust. Cook 3 to 4 minutes per side until the tortillas are deeply golden and blistered. If the oil is too cool, they absorb grease; if it’s too hot, the shell browns before the inside has warmed through.
How to Adapt These Chimichangas Without Losing the Crunch
Bake Them Instead of Frying
Brush the rolled chimichangas lightly with oil and bake them at 425°F until browned and crisp, turning once halfway through. The shell won’t shatter the same way a fried one does, but you’ll still get a sturdy, crunchy exterior with less mess on the stove.
Make It Gluten-Free
Use certified gluten-free tortillas that are large enough to roll without tearing. They can be a little less flexible, so warm them briefly before filling and handle them gently once rolled. The texture will still crisp nicely, but some brands brown faster than standard flour tortillas.
Swap the Beef for Shredded Chicken
Shredded chicken works well if you season it with the same taco mix and reduce it until it’s not wet. Chicken is leaner than beef, so add a spoonful of salsa or a little broth only if the meat seems dry and hard to pack. The result is a lighter chimichanga with the same crisp shell and cheesy center.
Storage and Reheating
- Refrigerator: Store leftovers for up to 3 days. The tortilla will soften a bit, but the filling stays flavorful.
- Freezer: Freeze the cooked chimichangas wrapped individually for up to 2 months. Reheat from frozen for the best texture; thawing first makes the shell softer.
- Reheating: Warm them in a 375°F oven or air fryer until hot and crisp again. The biggest mistake is microwaving, which turns the shell rubbery before the center has a chance to heat through.
Questions I Get Asked About This Recipe
Beef and Cheese Chimichangas
Ingredients
Equipment
Method
- Brown the ground beef and diced yellow onion in a skillet over medium-high heat for 6–7 minutes, breaking the beef apart as it cooks.
- Stir in the taco seasoning packet and 3 tablespoons water, simmering for 2 minutes until thickened.
- Divide the beef mixture and shredded Mexican blend cheese among the flour tortillas.
- Fold in the sides and roll the tortillas tightly like a burrito, securing with a toothpick if needed.
- Heat about 1 inch of vegetable oil in a heavy skillet to 350°F.
- Fry the chimichangas seam-side down for 3–4 minutes per side, until deeply golden and crisp.
- Drain on a wire rack and remove any toothpicks.
- Serve immediately topped with shredded lettuce, sour cream, and salsa.