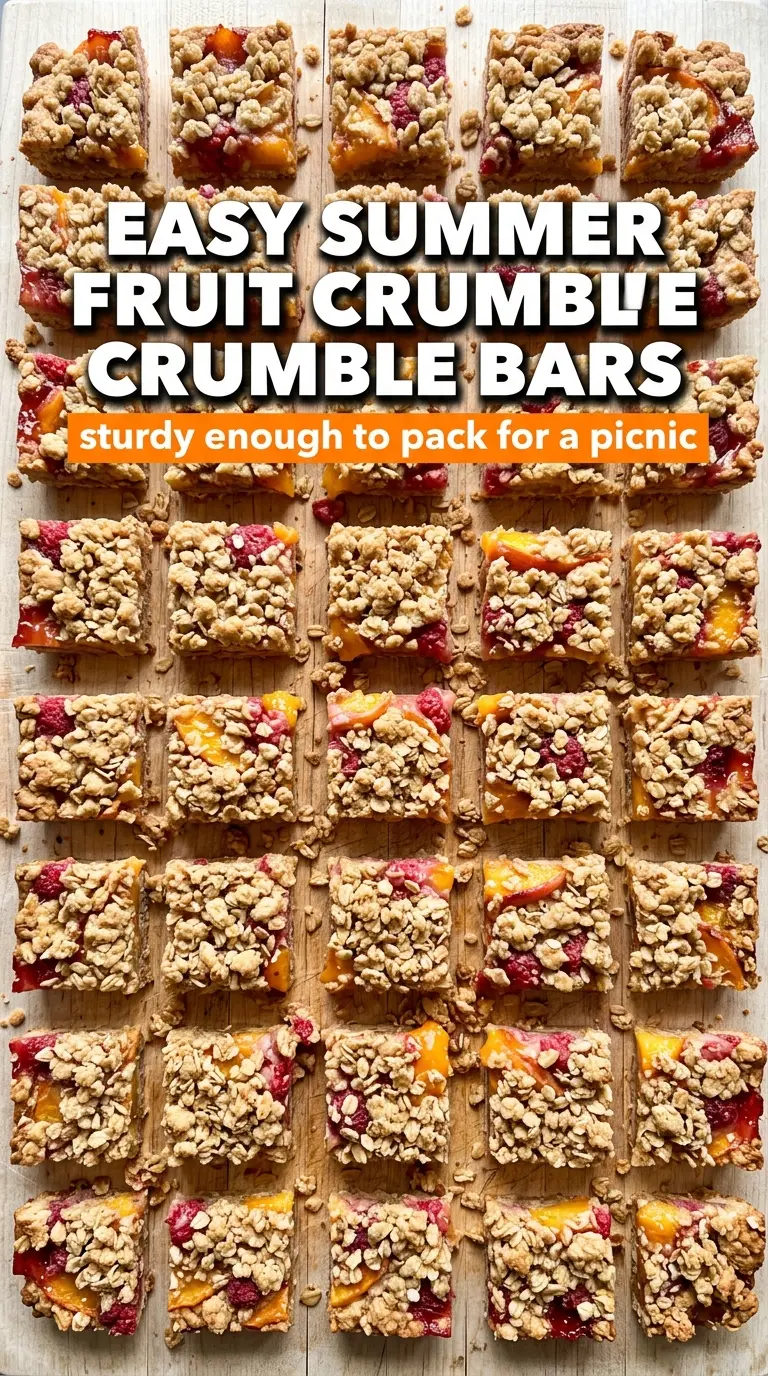
Buttery oat crumble, jammy peaches, and tart raspberries come together in bars that hold their shape without losing that soft, fruity middle. The bottom bakes into a sturdy layer, the top turns crisp and golden, and the fruit settles into the center with just enough juice to taste fresh instead of heavy. These are the kind of bars that disappear fast because they work for nearly anything: an afternoon snack, a picnic dessert, or a pan you can cut into squares and hand around without plates.
The balance matters here. Peaches bring sweetness and body, while raspberries cut through with a little sharpness so the bars don’t taste flat. Cornstarch keeps the filling from running everywhere, and the lemon juice wakes up the fruit without making it taste lemony. The oat mixture does double duty as both crust and crumble, which keeps the recipe simple and gives every bite the same good texture.
Below you’ll find the trick to getting clean slices instead of a messy crumble, plus a few easy swaps if your peaches are soft, tart, or out of season.
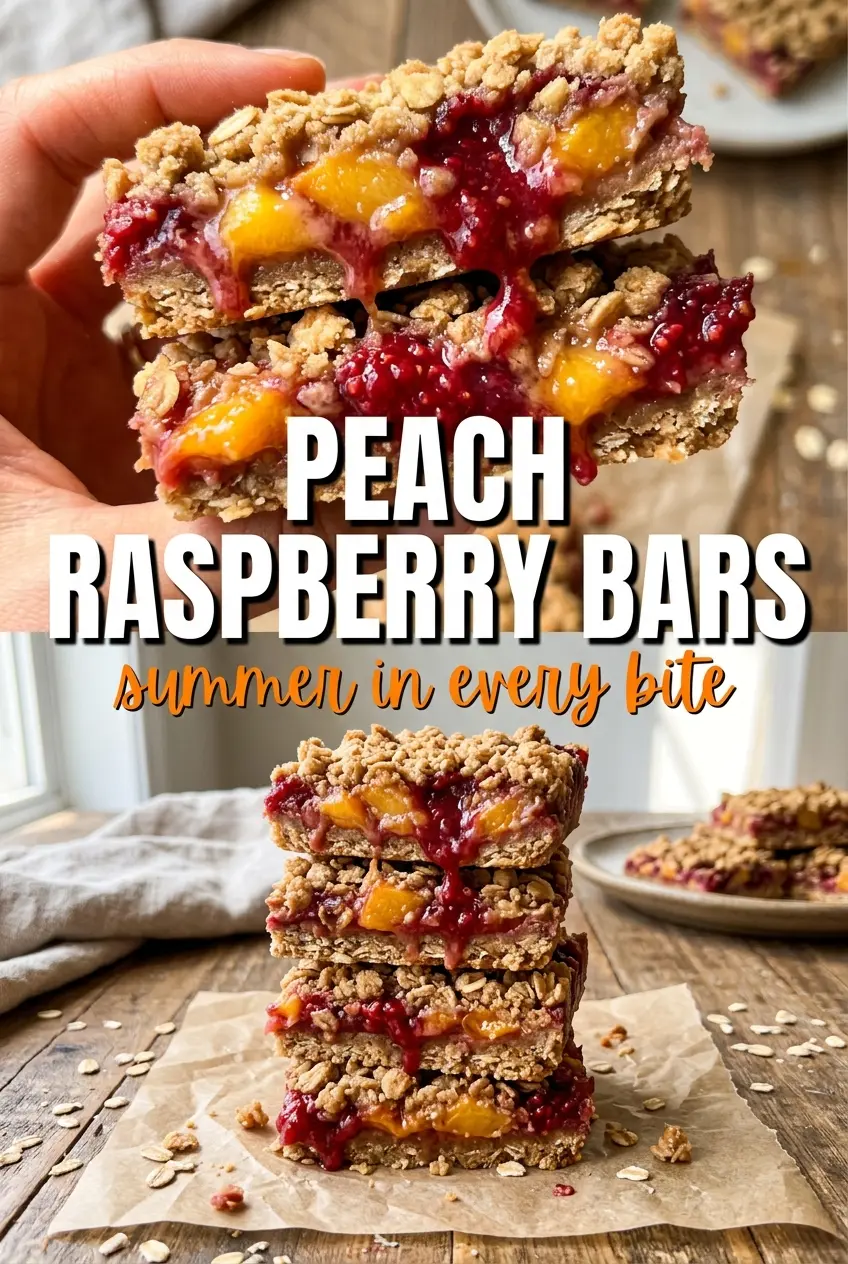
The oat topping stayed crisp even after cooling, and the peaches and raspberries baked into this thick, jammy layer that sliced cleanly once it was completely cool. I brought them to a cookout and nobody believed they were homemade.
These peach raspberry bars bake up with a crisp oat crumble and a juicy center that cuts clean once cooled.
The Secret to Bars That Slice Clean Instead of Falling Apart
The difference between tidy bars and a crumbly mess comes down to two things: pressing the base firmly enough and letting the finished pan cool all the way down. The oat mixture needs to be packed into the pan so it bakes into one coherent layer instead of loose crumbs. If you leave it airy, the filling has nothing solid to sit on and the bars collapse when you cut them.
The fruit layer also needs a little structure. Raspberries release a lot of juice as they bake, which is exactly why the cornstarch is in there. It turns that juice into a thick, glossy filling instead of a runny puddle. Resist the urge to slice too soon. Warm bars will look set at the edges and still fall apart in the center.
What Each Ingredient Is Doing in These Peach Raspberry Bars
- All-purpose flour — Gives the crumble enough structure to hold together while still baking tender. I wouldn’t swap in cake flour here; it makes the base too soft. If you need gluten-free bars, use a good 1:1 gluten-free baking blend with xanthan gum.
- Old-fashioned oats — These are what give the bars their chewy, rustic texture. Quick oats turn mushy and lose the crumbly layer that makes this recipe work. Old-fashioned oats also help the top brown in those crisp little ridges.
- Brown sugar — This adds moisture and a deeper caramel note to the crust. Packed brown sugar keeps the crumble from tasting dry and one-note. If yours is hard, break it up before mixing so it distributes evenly.
- Butter, melted — Melted butter lets the dry ingredients clump into that perfect sandy crumble. Cold butter would give you a different texture here and make the press-in base harder to work with. Unsalted butter is the right choice so you can control the seasoning.
- Peaches — Use ripe peaches with some give, but not ones so soft they turn to puree. Dice them small enough to spread evenly, which helps the bars bake through at the same rate. If your peaches are very juicy, toss them with the sugar and cornstarch right before layering.
- Raspberries — They bring the sharp edge that keeps the bars from leaning too sweet. Fresh berries hold their shape better than frozen ones, which release more liquid. If you use frozen raspberries, add them straight from the freezer and expect a softer filling.
- Cornstarch and lemon juice — Cornstarch thickens the juices, and lemon juice brightens the fruit so the filling tastes lively instead of heavy. The lemon doesn’t make the bars tart; it just sharpens the peach flavor. Don’t skip the cornstarch unless you want a looser, messier center.
How to Build the Layers So the Filling Stays Put
Mixing the Crumble
Stir the flour, oats, brown sugar, baking soda, and salt together first, then pour in the melted butter. The mixture should look evenly moistened and clump when squeezed, with some loose crumbs still left behind. If it looks wet like cookie dough, too much butter went in or the butter was too hot; let it sit for a minute and stir again until it looks sandy and nubby.
Pressing the Base
Reserve about one-third of the mixture for the topping, then press the rest firmly into the parchment-lined pan. Use the bottom of a measuring cup or your fingers to pack it into an even layer right into the corners. A loose base breaks when you slice it, so press harder than you think you need to. The surface should look compact and level, not fluffy.
Building the Fruit Center
Toss the peaches and raspberries with the granulated sugar, cornstarch, and lemon juice until the fruit looks lightly coated. Spread it over the crust in an even layer so the filling bakes at the same pace in every corner. Don’t stir the filling into the crust. Keeping the layers separate is what gives you clear bars instead of a muddy, jam-packed bottom.
Finishing the Top and Baking Through
Scatter the remaining crumble over the fruit and press it gently so some pieces cling together while others stay loose. Bake until the top is deep golden and the fruit is bubbling around the edges and peeking through the crumbs. If the top browns before the filling bubbles, the oven is running hot; tent loosely with foil and keep baking until you see that fruit bubbling through the center.
How to Adapt These Bars When the Fruit Changes
Gluten-Free Bars
Swap the all-purpose flour for a 1:1 gluten-free baking blend that already includes xanthan gum. The texture stays close to the original, though the crumble will be a little more delicate. Let the bars cool completely before lifting them from the pan, because gluten-free crusts need that extra set time.
Make Them Dairy-Free
Use a plant-based butter that performs well in baking. The bars will still hold together, but the flavor is less rich and the crumble can brown a little differently. Choose a stick-style dairy-free butter instead of a tub spread for the best structure.
Frozen Fruit Version
Frozen peaches and raspberries work, but don’t thaw them first or they’ll flood the filling. Toss them straight from frozen with the sugar, cornstarch, and lemon juice, then bake a few extra minutes if the center still looks loose. Expect a softer, juicier middle and a slightly longer cooling time.
Storage and Reheating
- Refrigerator: Store in an airtight container for up to 5 days. The crumble softens a little, but the bars still hold together well.
- Freezer: These freeze well. Wrap individual bars tightly and freeze for up to 2 months, then thaw in the refrigerator overnight.
- Reheating: Eat them cold or warm them briefly in a low oven at 300°F for 8 to 10 minutes. Microwaving makes the topping soft and the fruit overly loose, which is the main thing to avoid.
Answers to the Questions Worth Asking
Peach Raspberry Bars
Ingredients
Equipment
Method
- Preheat the oven to 350°F and line an 8x8-inch baking pan with parchment paper, leaving an overhang on two sides.
- Set the pan aside so the parchment is ready for pressing and lifting.
- Combine the all-purpose flour, old-fashioned oats, brown sugar, baking soda, and salt in a bowl, then stir until evenly mixed.
- Pour in the melted unsalted butter and stir until the mixture turns crumbly.
- Press two-thirds of the oat mixture firmly into the bottom of the prepared pan to form the base.
- Toss the peaches with the raspberries, granulated sugar, cornstarch, and lemon juice, then spread evenly over the base.
- Sprinkle the remaining oat mixture over the fruit, pressing gently so some clumps remain.
- Bake for 40–45 minutes at 350°F, until the top is golden and the fruit is bubbling (visual cue: bubbling around the edges).
- Cool completely in the pan before lifting out and slicing into bars for clean edges.