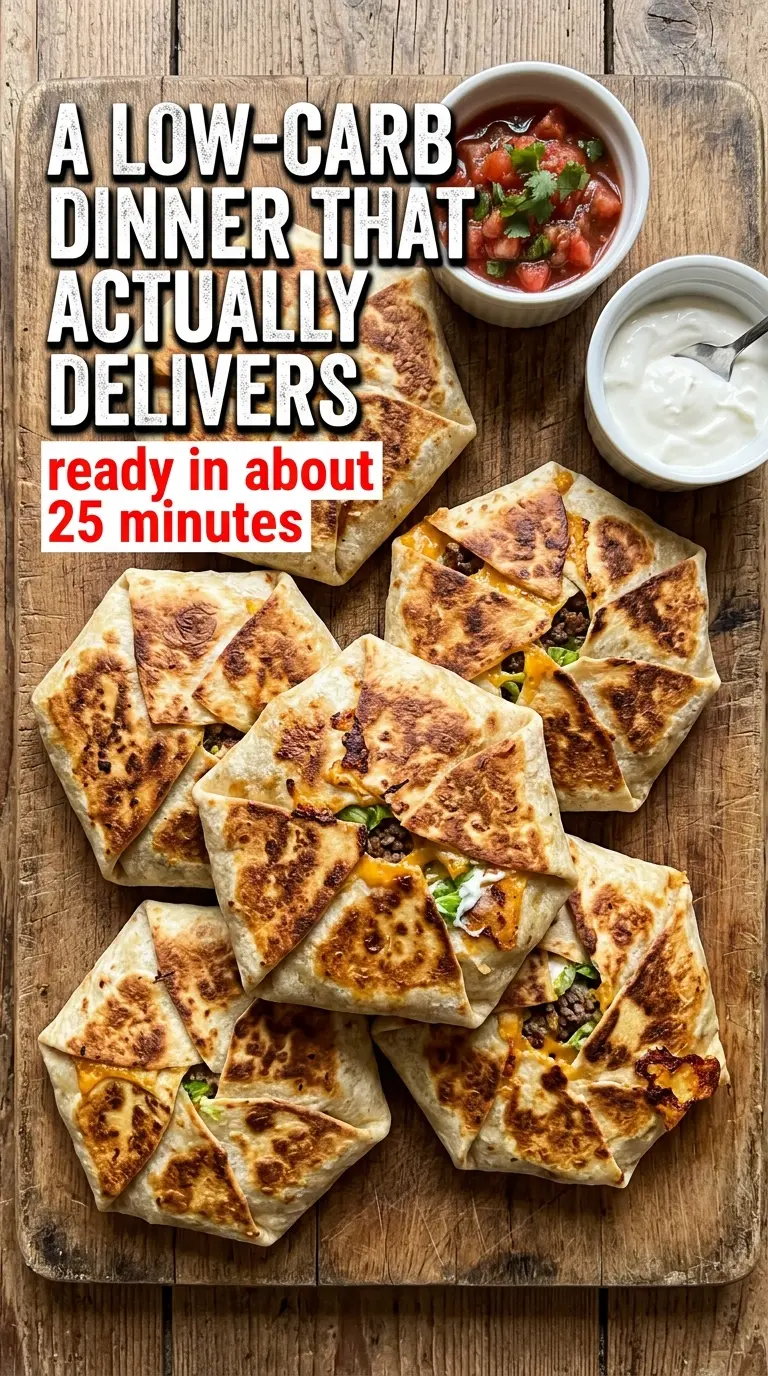
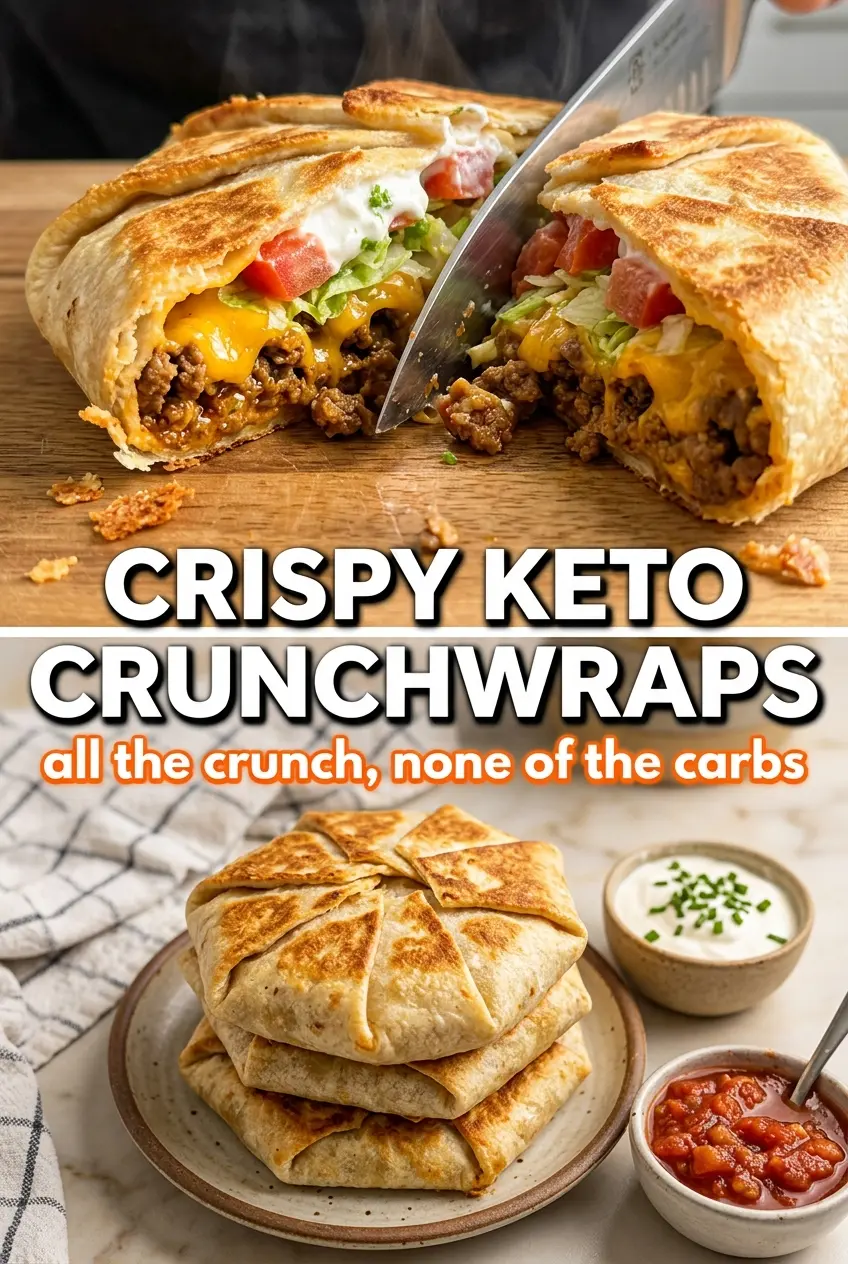
Golden, crisp tortillas wrapped around seasoned beef, melted cheese, and cool toppings give these keto crunchwraps the kind of bite that disappears fast. The outside stays shatter-crisp in the skillet while the inside stays layered and satisfying, with enough structure to hold together when you cut into it.
What makes this version work is the balance between the filling and the tortilla layers. The beef gets cooked down with taco seasoning and just enough water to turn it saucy instead of dry, which keeps the center from eating like plain crumbles. Using a larger low-carb tortilla for the wrap and a smaller one in the middle helps create that classic stacked crunchwrap shape without relying on a giant flour tortilla.
Below, I’ve included the exact folding trick that keeps the filling tucked in, plus the one skillet step that gives you that deep golden crust without overcooking the low-carb tortilla.
The beef stayed juicy, the tortilla got perfectly crisp, and none of the filling leaked out when I flipped it. My kids said it tasted like the drive-thru version but better.
Save these crispy keto crunchwraps for the night you want that fast-food crunch without the carb-heavy tortilla.
The One Fold That Keeps the Filling Inside
The part that usually goes wrong with crunchwraps is overstuffing. If the filling reaches the edge of the large tortilla, there’s nowhere for the folds to go, and the seam tears before the skillet ever has a chance to crisp it. Keep the filling in the center in a tight circle, then lay the small tortilla on top like a lid. That extra layer gives the fold something to close over and helps the crunchwrap keep its shape when you flip it.
The other detail that matters is heat. Medium heat is enough here. Too hot, and the tortilla browns before the seam seals; too low, and you lose the crisp edge that makes the whole thing worth eating. You’re looking for a dry, deep golden surface that feels firm when you lift it with a spatula.
What Each Ingredient Is Actually Doing in This Dish
- Ground beef — This is the backbone of the filling. An 80/20 blend gives you enough fat for flavor without making the wrap greasy. If you use very lean beef, add a small splash of oil when browning so the taco seasoning has something to cling to.
- Taco seasoning — This gives the beef its fast, punchy flavor in one step. Store-bought seasoning works fine, but if yours is salty, hold back on any extra salt until you taste the finished filling.
- Low-carb tortillas — The large tortillas need to be pliable enough to fold without cracking. Warm them for a few seconds if they feel stiff, because a cold low-carb tortilla tends to split at the folds.
- Small low-carb tortillas — This is the part that makes the crunchwrap feel layered instead of flat. It acts like a cap over the filling and helps create that classic sealed center.
- Cheddar cheese — Cheddar melts into the beef and helps bind the layers. Pre-shredded cheese works, but freshly shredded melts a little smoother if you want a gooier center.
- Sour cream, lettuce, and tomatoes — These cool the hot beef and give the crunchwrap the contrast that makes each bite work. Keep the lettuce dry and the tomatoes diced small so the tortilla doesn’t get soggy before you serve it.
- Butter — Butter is what gives the outside its rich, browned finish. It also helps the skillet make even contact with the tortilla, which is why you get that crisp surface instead of a pale, dry wrap.
- Salsa — Use it for serving, not inside the wrap, unless you want extra moisture in the center. A thicker salsa holds up best with this kind of layered filling.
Building the Crunchwrap Without Tearing the Tortilla
Cooking the Beef
Brown the ground beef in a skillet over medium-high heat, breaking it up as it cooks until there’s no pink left and the bits are small and crumbly. Stir in the taco seasoning and water, then let it simmer until the liquid is absorbed and the beef looks glossy, not soupy. If the pan still has a puddle of liquid, the wrap will steam instead of crisp later.
Layering the Center
Lay the large tortilla flat and spoon the beef into the center, leaving a wide border around the edge. Add the cheese, lettuce, and tomatoes, then set the small tortilla directly on top. That top tortilla acts like a plug; if you skip it, the folds have to stretch over loose filling and they’re much more likely to split.
Folding and Sealing
Work your way around the edge of the large tortilla, folding one section at a time toward the middle. The goal is a tidy hexagon shape with the seam landing on top of the filling, not stretched across the side. If a tortilla tear opens up, patch it with one of the folds instead of trying to tighten it further.
Crisping in the Skillet
Heat the butter in a large skillet over medium heat, then place the crunchwrap seam-side down. Press it gently with a spatula so the folds make contact with the pan, and cook until the bottom is a deep golden brown and releases easily, about 2 to 3 minutes. Flip carefully and cook the second side until it matches. If the skillet is too crowded, the tortilla will steam, so cook them one at a time or in batches.
How to Adapt These Keto Crunchwraps for Different Kitchens
Dairy-Free Version
Swap the cheddar for a meltable dairy-free cheese and use oil instead of butter for the skillet. You’ll lose a little of the buttery browning, but the crunchwrap still gets crisp if the pan is hot enough and the filling isn’t wet.
Chicken Instead of Beef
Use cooked shredded chicken and toss it with the taco seasoning and water in the skillet just long enough to coat it. Chicken gives you a lighter filling, but it needs the same saucy finish so the wrap doesn’t eat dry.
Extra-Low-Carb Version
Skip the tomatoes and use extra lettuce, or swap the sour cream for a thicker avocado-based spread. That trims a few more carbs while keeping the cool, creamy contrast that balances the hot beef.
Storage and Reheating
- Refrigerator: Store cooked crunchwraps for up to 3 days. The tortilla softens a bit in the fridge, but the flavor holds up well.
- Freezer: These freeze best before adding lettuce, sour cream, and salsa. Wrap tightly and freeze for up to 2 months, then add the fresh toppings after reheating.
- Reheating: Reheat in a dry skillet over medium-low heat or in an air fryer until the outside crisps again. Microwaving turns the tortilla soft, which is the fastest way to lose the texture that makes this recipe work.
Questions I Get Asked About This Recipe
Crispy Keto Crunchwraps
Ingredients
Equipment
Method
- Brown the ground beef in a skillet over medium-high heat, breaking it apart as it cooks, about 6–7 minutes. Stir in the taco seasoning and 2 tablespoons water, then simmer for 2 minutes.
- Lay a large low-carb tortilla flat and layer the center with beef, shredded cheddar cheese, shredded lettuce, and diced tomatoes.
- Place a small low-carb tortilla on top of the filling.
- Fold the edges of the large tortilla up and over the filling, pleating as you go to fully enclose it.
- Heat the butter in a large skillet over medium heat. Place the crunchwrap seam-side down and cook for 2–3 minutes, until golden and crisp.
- Flip carefully and cook for 2–3 more minutes, until golden on both sides.
- Slice the crunchwrap in half and serve immediately with sour cream and salsa.