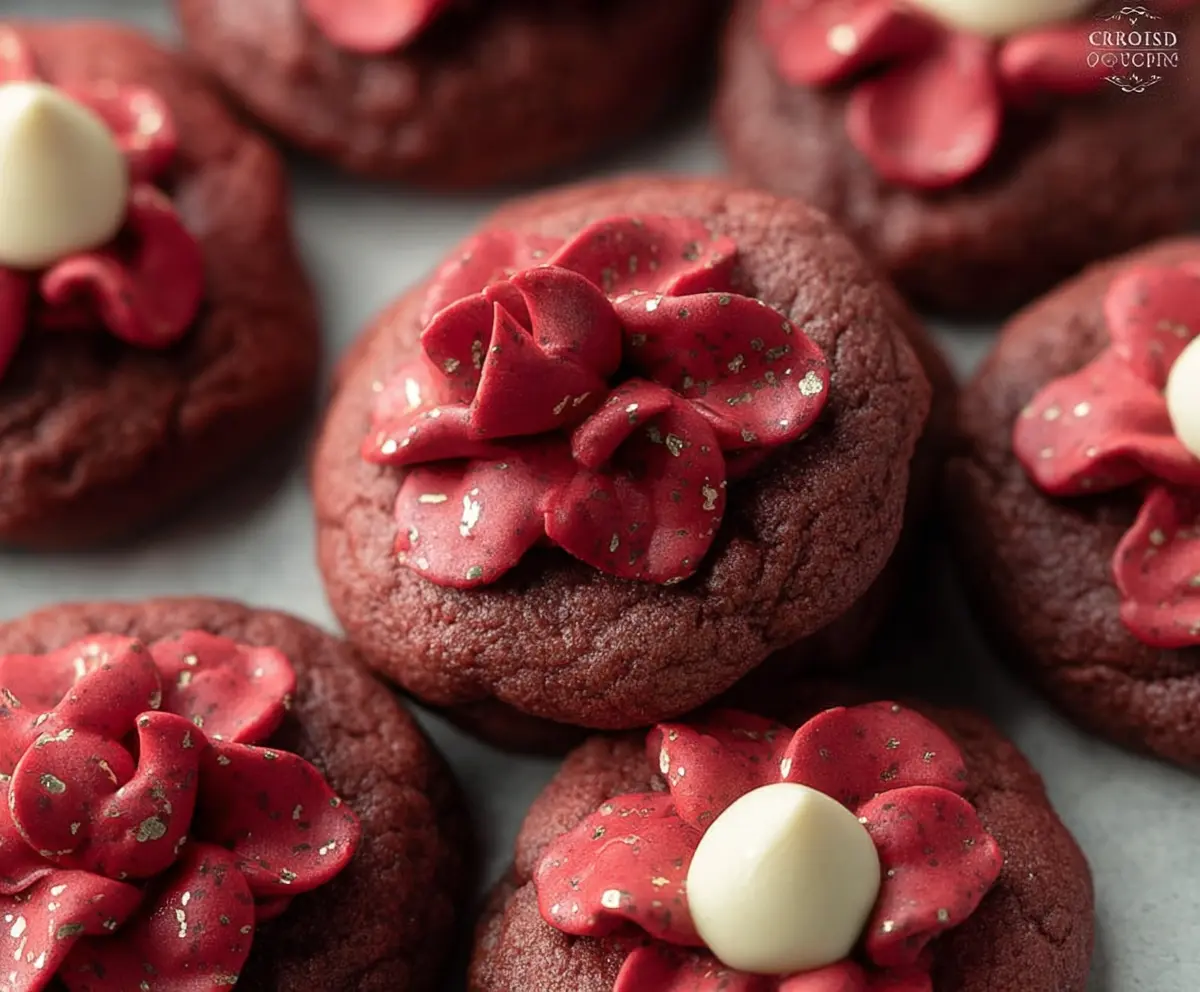
These Red Velvet Blossom Cookies are eye-catching and tasty! With their beautiful red color and a yummy chocolate kiss on top, they are perfect for any sweet treat lover.
Baking these cookies is so much fun! I love how they brighten up my kitchen. Plus, if you’re feeling generous, they make great gifts too—just don’t eat them all yourself! 😉
Key Ingredients & Substitutions
All-Purpose Flour: This is your main structure ingredient. If you need a gluten-free option, you could use a gluten-free flour blend; just check the packaging for measurements.
Cocoa Powder: Unsweetened cocoa is key for a deep chocolate flavor. If you’re out, you could use Dutch-process cocoa, but that may alter the color slightly. For a caffeine-free option, try carob powder instead!
Red Food Coloring: Gel food coloring is preferred for a rich shade without adding too much liquid. If you want a natural substitute, beet juice can work in a pinch, but it may change the flavor a bit.
White Chocolate Chips or Kisses: These add a lovely contrast to the cookie. If you’re looking for dairy-free options, check for vegan chocolate or even a dark chocolate for a twist!
How Do I Achieve the Perfect Cookie Texture?
Getting the right texture in these cookies is crucial! Here’s how you do it:
- Make sure your butter is softened, not melted, for the best creaming results.
- Do not overmix your dough after adding flour; just blend until it’s combined to keep the cookies tender.
- Stick to the baking time. If they’re slightly underbaked, that’s perfect since they’ll continue to firm up as they cool.
These simple steps help create soft and chewy cookies, perfect for enjoying or sharing!
Red Velvet Blossom Cookies
Ingredients You’ll Need:
For the Cookies:
- 1 1/4 cups all-purpose flour
- 1/4 cup unsweetened cocoa powder
- 1/2 teaspoon baking powder
- 1/4 teaspoon salt
- 1/2 cup unsalted butter, softened
- 1 cup granulated sugar
- 1 large egg
- 1 teaspoon vanilla extract
- 1 tablespoon red food coloring (gel or liquid)
- 1 teaspoon white vinegar
- 1/2 cup white chocolate chips or kisses (for topping)
For the Buttercream Frosting:
- 1/2 cup unsalted butter, softened
- 1 1/2 cups powdered sugar
- 1 1/2 tablespoons heavy cream or milk
- 1/2 teaspoon vanilla extract
- Red gel food coloring
- Optional: edible gold/silver glitter for decoration
How Much Time Will You Need?
This delightful recipe takes about 20 minutes of prep time and an additional 10-11 minutes for baking. Plus, you’ll want to allow some time for the cookies to cool and the frosting to set, making the total time about an hour—perfect for a fun baking session!
Step-by-Step Instructions:
1. Prepping Your Oven and Baking Sheet:
First, you’ll want to set the mood for baking! Preheat your oven to 350°F (180°C) and line a baking sheet with parchment paper to prevent sticking. It’s a small step that makes a big difference.
2. Mixing the Dry Ingredients:
In a medium bowl, sift together the flour, cocoa powder, baking powder, and salt. This is essential as it combines everything well, ensuring your cookies are fluffy and delicious. Set this mixture aside for a moment.
3. Creaming the Sugar and Butter:
In a large bowl, combine the softened butter and granulated sugar using a mixer. Mix until the mixture becomes light and fluffy. This creates a lovely base for your cookies!
4. Adding the Goodness:
Now, add in the egg, vanilla extract, red food coloring, and vinegar. Beat these ingredients together until everything is fully combined. The red food coloring is what gives your cookies that gorgeous, vibrant hue!
5. Combining Wet and Dry Ingredients:
Gradually add your flour mixture to the wet ingredients. Mix gently until everything is combined—don’t overdo it, or your cookies might become tough!
6. Forming the Cookies:
Using a cookie scoop or a spoon, drop tablespoon-sized balls of dough onto your prepared baking sheet. Make sure to leave about 2 inches between each ball to allow for spreading.
7. Baking Time:
Pop the baking sheet into the oven and bake the cookies for 9-11 minutes. They’re ready when the edges are set but the centers are still soft. Resist the urge to open the oven door too early—let them be!
8. Adding the Topping:
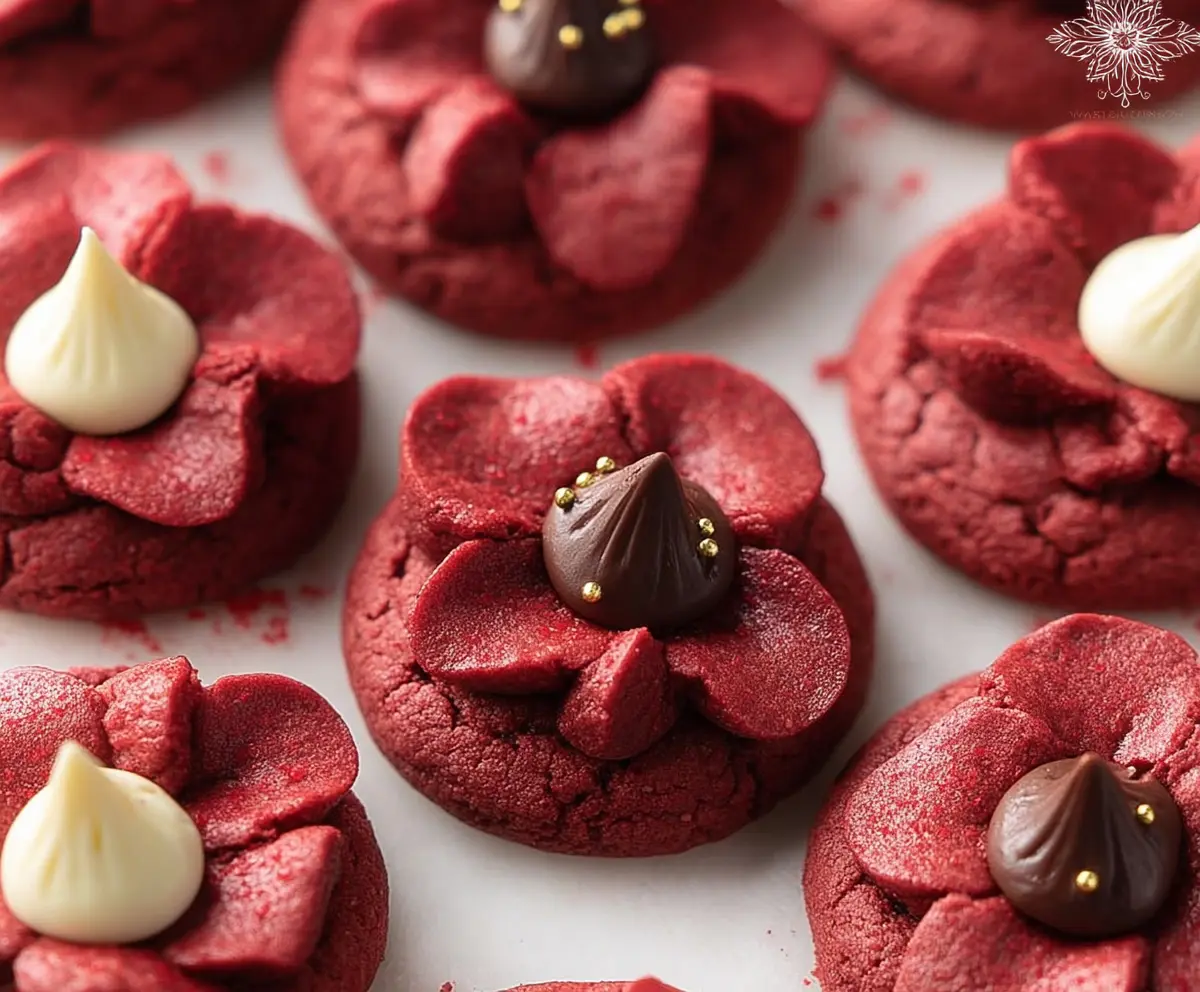
Once baked, take the cookies out and immediately press a white chocolate chip or kiss into the center of each warm cookie. This will melt just enough to hold it in place!
9. Making the Frosting:
While your cookies cool, let’s whip up that tasty buttercream frosting. In a large bowl, beat the softened butter until creamy. Gradually mix in the powdered sugar, heavy cream, and vanilla extract until the frosting is smooth and fluffy.
10. Color the Frosting:
Next, it’s frosting time! Add red food coloring to the mix until you achieve a deep red hue that matches your cookies beautifully.
11. Decorating the Cookies:
Using a piping bag fitted with a petal or leaf tip, carefully pipe flower-shaped blossoms on top of each cooled cookie around the white chocolate center. This is where your cookies get their lovely floral look!
12. Adding Sparkle:
If you like, sprinkle some edible gold or silver glitter on your frosting for an extra touch of elegance. It’s all about that festive flair!
13. Let it Set:
Finally, let your frosting set before serving. This gives your cookies a polished finish, making them even more delightful to share with family and friends!
Enjoy your beautifully decorated Red Velvet Blossom Cookies—soft, rich red velvet cookies topped with elegant red buttercream blossoms and surprising white chocolate centers! Perfect for any occasion!
Can I Use a Different Type of Food Coloring?
Absolutely! While gel food coloring works best for a vibrant red hue without adding excess liquid, you can also use liquid food coloring. Just be cautious; you may need to adjust the amount to achieve the desired color.
Can I Make These Cookies Ahead of Time?
Sure! You can prepare the cookie dough and refrigerate it for up to 2 days before baking. Just be sure to let it sit at room temperature for about 10 minutes before scooping and baking to ensure even baking.
How Should I Store Leftover Cookies?
Store your cookies in an airtight container at room temperature for up to 3 days. If you want them to last longer, you can freeze the baked cookies without frosting for up to a month. Just thaw them at room temperature before frosting and serving.
Can I Substitute the White Chocolate Chips?
Yes! If you prefer dark or milk chocolate, feel free to use those instead. You can also use chocolate-covered caramel candies for a fun twist on the classic topping!