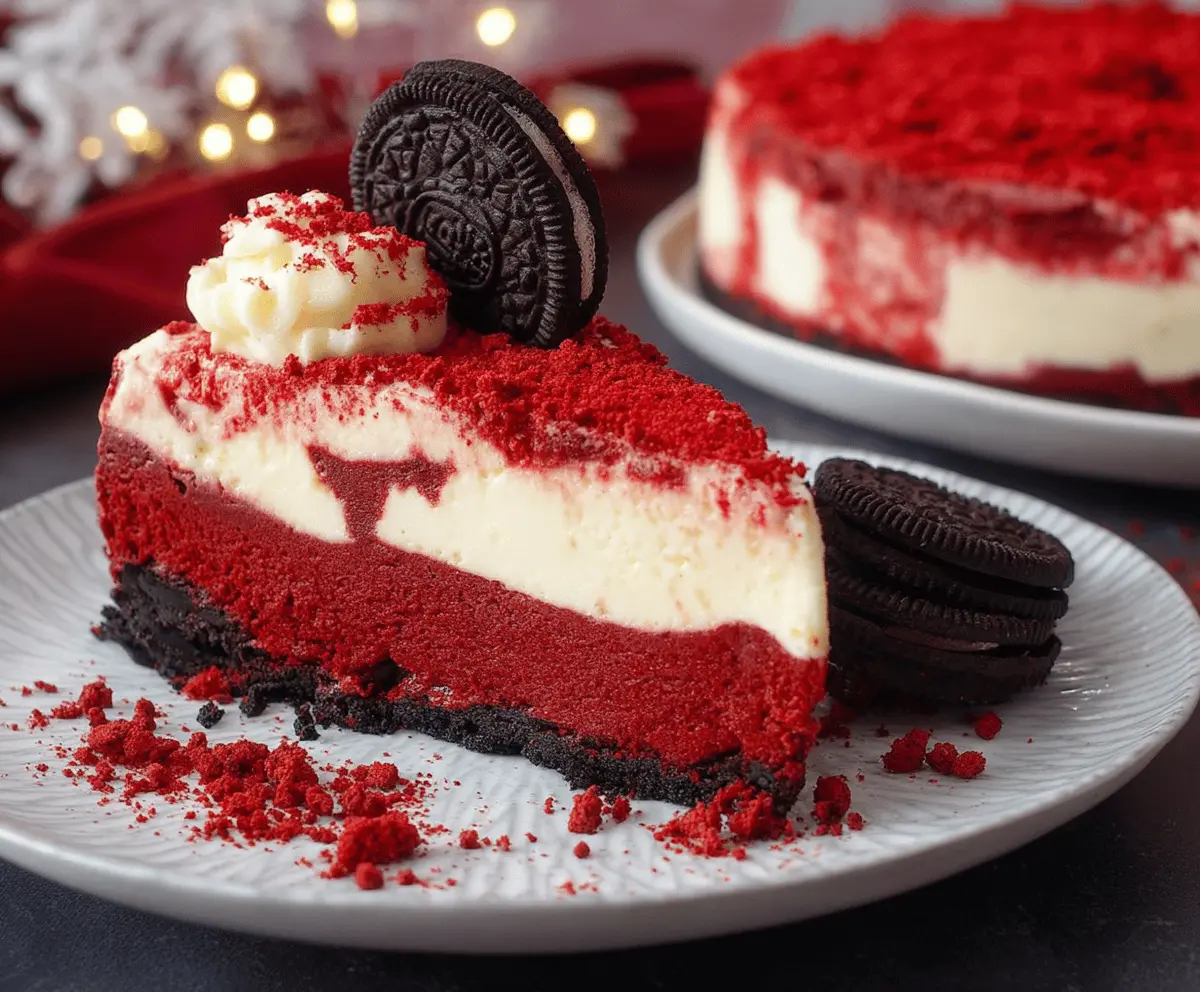
This Christmas Red Velvet Cheesecake with Oreo Crust is a festive treat that looks as good as it tastes! The rich red velvet layer perfectly combines with the crunchy Oreo base.
Who can resist the magic of red velvet? I love serving this at holiday gatherings; it always gets everyone talking (and eating)! 🎄 It’s a showstopper, for sure!
Key Ingredients & Substitutions
Oreo Cookies: These cookies form the base of your cheesecake, giving it a delightful chocolate flavor. If you’re looking for a healthier option, you can try using chocolate wafer cookies or even graham crackers mixed with cocoa powder, but it won’t taste quite the same!
Cream Cheese: This is essential for that creamy texture. Make sure it’s softened before mixing for the best results. If you’re dairy-free, vegan cream cheese works well too, though the flavor may change slightly.
Red Food Coloring: This gives the cheesecake its iconic color. If you want a natural alternative, beet juice can serve as a healthier option, but it may affect the flavor a bit.
Sour Cream: For added creaminess and a slight tang. Greek yogurt can be used as a substitute, or for a lighter option, low-fat sour cream works well too.
How Can I Avoid Cracking the Cheesecake?
Preventing cracks in your cheesecake is all about temperature management. Here are some tips:
- Make sure all ingredients are at room temperature before mixing. This helps create a smooth batter.
- Avoid overmixing, especially after adding eggs, as too much air can cause cracking during baking.
- Baking the cheesecake in a water bath can help maintain even temperatures and moisture, minimizing cracks.
- Let the cheesecake cool gradually in the oven with the door ajar. This reduces sudden temperature changes that lead to cracks.
Christmas Red Velvet Cheesecake With Oreo Crust
Ingredients You’ll Need:
For the Oreo Crust:
- 24 Oreo cookies (with filling)
- 5 tablespoons unsalted butter, melted
For the Red Velvet Cheesecake:
- 3 packages (8 oz each) cream cheese, softened
- 1 cup granulated sugar
- 3 large eggs
- 1 teaspoon vanilla extract
- 1 cup sour cream
- 1 tablespoon all-purpose flour
- 2 tablespoons unsweetened cocoa powder
- 2 tablespoons red food coloring
- 1 teaspoon white vinegar
- 1 teaspoon baking soda
For Decoration:
- Whipped cream
- Crumble from red velvet cake or crumbs
- Oreo cookies for garnish
How Much Time Will You Need?
This festive dessert requires about 20 minutes of active prep time, followed by 50-60 minutes of baking. After baking, let it cool in the oven for an hour, then chill it in the fridge for at least 4 hours (or overnight, if you can wait!). In total, you should plan for about 6 hours of time before you can enjoy this indulgent cheesecake!
Step-by-Step Instructions:
1. Prepare the Oreo Crust:
Start by preheating your oven to 325°F (163°C). Place the Oreo cookies in a food processor and crush them into fine crumbs. Alternatively, put them in a ziplock bag and crush them with a rolling pin. Mix the crumbs with melted butter until it looks like wet sand. Then, press this mixture firmly and evenly into the bottom of a 9-inch springform pan. Bake for 8 minutes, then take it out and let it cool while you prepare the filling.
2. Make the Red Velvet Cheesecake Filling:
In a large bowl, beat together the softened cream cheese and sugar until it’s nice and smooth. Add the eggs one at a time, mixing well after each addition. Stir in the vanilla extract and sour cream until well combined.
3. Add Dry Ingredients and Color:
In another small bowl, mix the flour and cocoa powder together. Gradually add this to the cream cheese mixture, mixing gently until just combined. Then, stir in the red food coloring to get that beautiful red hue.
4. Activate the Baking Soda:
In a small cup, mix the white vinegar and baking soda. Watch it bubble! Quickly fold this bubbly mixture into the cheesecake batter.
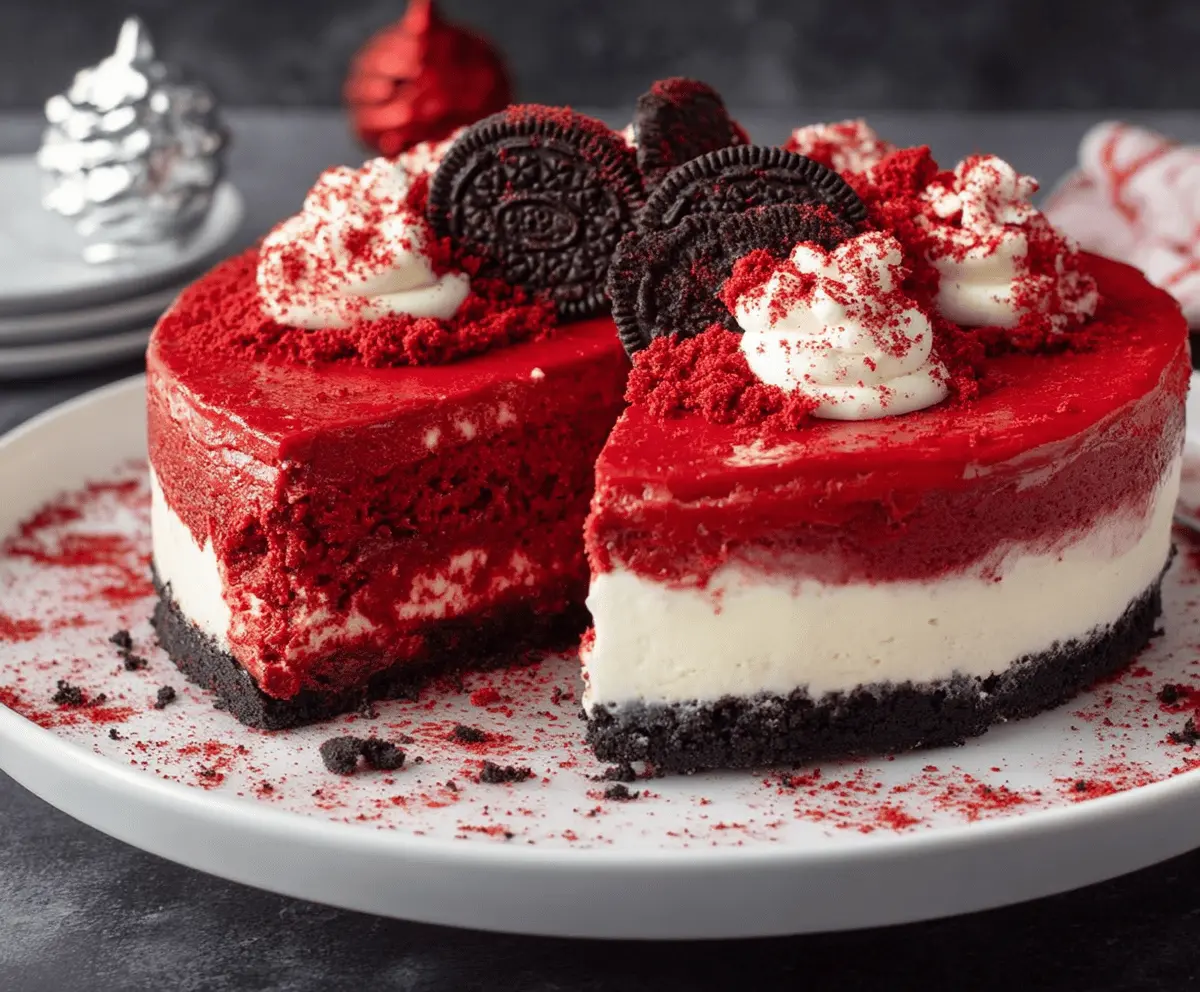
5. Layering the Cheesecake:
Pour half of the red velvet batter over the cooled Oreo crust and smooth the top. Now, we’re going to make a delicious white cheesecake layer! In another bowl, beat 1 1/2 cups of cream cheese with 1/3 cup sugar, 1 egg, and 1/2 teaspoon vanilla until smooth. Carefully spoon this white cheesecake layer over the red velvet layer.
6. Final Layer:
Now, pour the remaining red velvet batter on top, and you can gently use a knife to swirl it for a marbled effect if you’d like.
7. Bake the Cheesecake:
Place your cheesecake in the oven at 325°F (163°C) for 50-60 minutes, or until the center looks almost set but still has a little jiggle. Once baked, turn off the oven, crack the door open, and let the cheesecake cool inside for 1 hour. This helps to prevent cracks!
8. Cooling and Chilling:
After an hour, take the cheesecake out of the oven and let it cool to room temperature. Then, cover it and refrigerate for at least 4 hours, or overnight if you can wait that long!
9. Decorate Like a Pro:
When you’re ready to serve, top it with whipped cream, sprinkle some crumbled red velvet cake on top, and add some whole Oreo cookies for that final touch!
10. Slice and Enjoy:
Carefully remove the sides of the springform pan. Slice your beautiful cheesecake and enjoy this festive, creamy, and indulgent Christmas treat with family and friends! Happy holidays! 🎄
Can I Use Other Types of Cookies for the Crust?
Yes! While Oreos provide a great flavor, you can substitute with chocolate wafer cookies or graham crackers mixed with cocoa powder for a different twist. Just make sure to adjust the butter amount if you change the type of cookies.
Can I Make This Cheesecake Gluten-Free?
Absolutely! Simply use gluten-free Oreo cookies for the crust and ensure your other ingredients are labeled gluten-free as well. This way, everyone can enjoy this festive dessert!
How Can I Store Leftover Cheesecake?
Store any leftovers in an airtight container in the refrigerator for up to 5 days. You can also freeze the cheesecake; just wrap individual slices tightly in plastic wrap, then place them in a freezer bag for up to 2 months. Thaw in the fridge before serving.
Can I Use Fat-Free Cream Cheese?
Yes, you can use fat-free cream cheese, but it may lead to a slightly different texture—less creamy and denser. For the best flavor and texture, use regular cream cheese if possible!