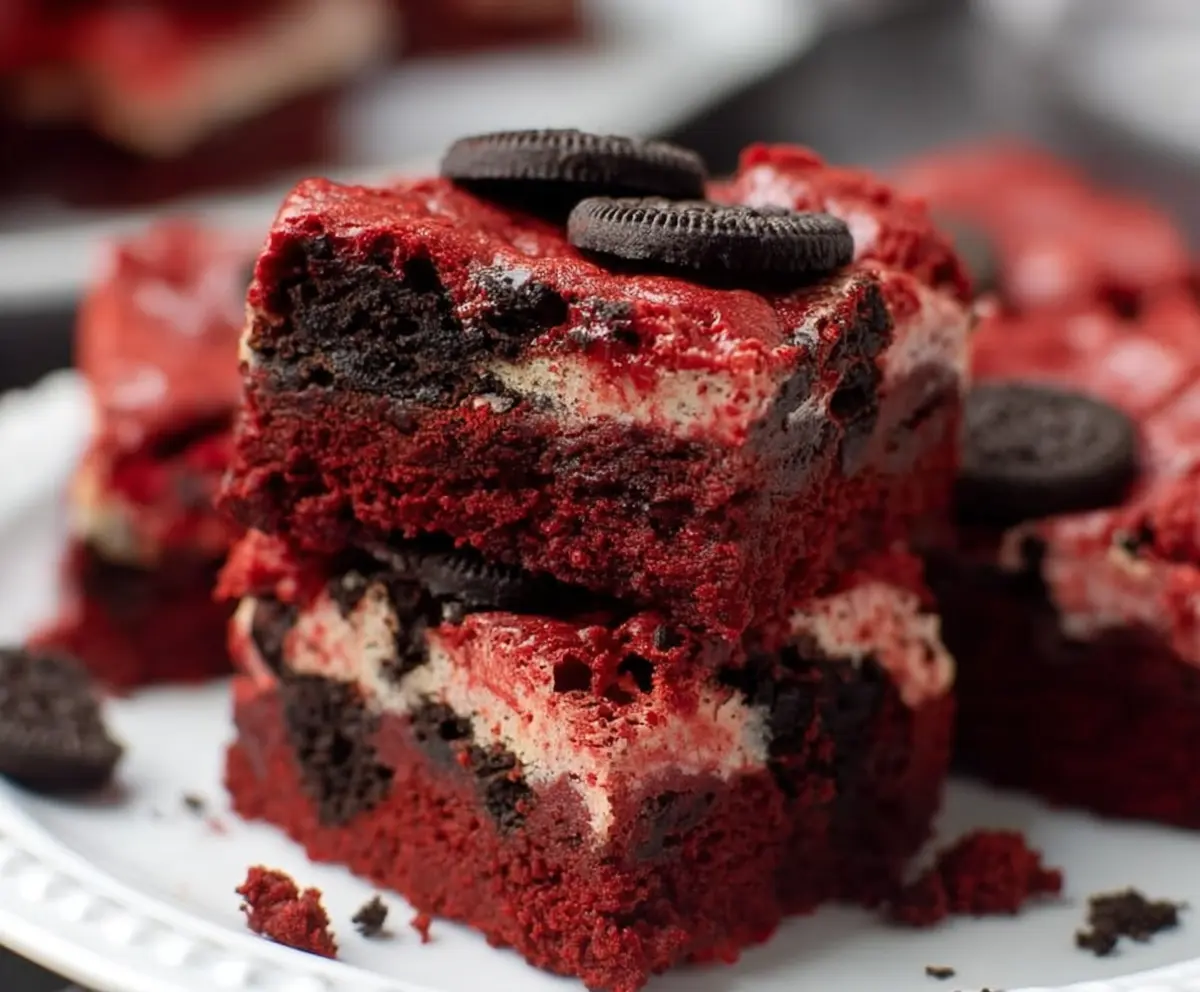
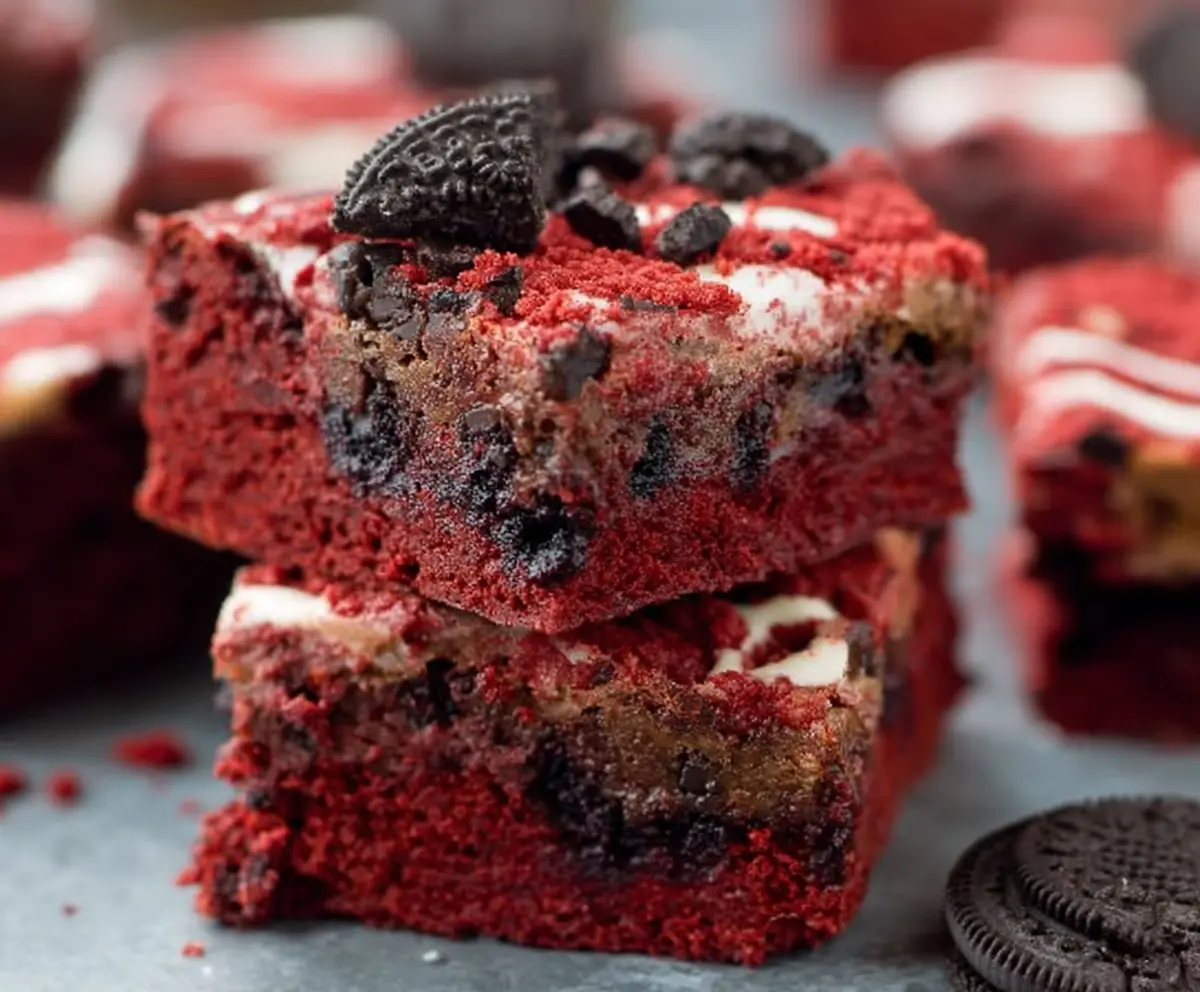
These Oreo Red Velvet Brownies are a fun twist on a classic treat! With rich red velvet flavor and creamy Oreo chunks, they are a sweet and colorful delight.
Who can resist that chocolatey goodness? I love serving these at gatherings, and they never last long on the plate—everyone wants a bite! 😋
Key Ingredients & Substitutions
Red Velvet Cake Mix: Using a box mix makes this recipe quick and easy, but you can also make your own batter if you prefer. Just watch out for balancing flavors and color!
Oreo Cookies: The classic Oreo is perfect for this recipe, but if you’re in the mood for something different, try using Mega Stuff or a different flavor like mint or peanut butter.
Vegetable Oil: Canola oil works just as well if you’re looking for a substitute. For a healthier option, you might even use applesauce for part of the oil—this adds moisture without extra fat!
What’s the Best Way to Ensure Fluffy Brownies?
To achieve fluffy brownies, it’s key to mix just until everything is combined. Overmixing can make them dense. Here are simple tips:
- Mix until you can’t see any dry powder—stop right there!
- When layering the mixtures, don’t press down hard, as this can compact the batter.
- Pay attention to baking time: the longer you leave them in, the drier they get. Test with a toothpick at the right time!
Following these steps will help you get that perfect fudgy texture with the delightful Oreo crunch incorporated throughout!
Oreo Red Velvet Brownies
Ingredients You’ll Need:
For the Brownies:
- 1 box red velvet cake mix (or homemade red velvet cake batter)
- 2 large eggs (if not included in cake mix)
- 1/2 cup vegetable oil (or as per cake mix instructions)
- 1/4 cup water (or as per cake mix instructions)
- 20 Oreo cookies, roughly chopped
- 8-10 whole Oreo cookies for topping
How Much Time Will You Need?
This recipe takes about 15 minutes for preparation and 25-30 minutes for baking. You’ll spend a little time mixing the ingredients and layering everything, and then the oven does the rest of the work! Letting them cool will take a bit more time before serving.
Step-by-Step Instructions:
1. Preheat and Prepare:
Start by preheating your oven to 350°F (175°C). While it’s warming up, grab an 8×8 inch baking pan. Grease and flour the pan, or you can line it with parchment paper for easy removal later. This way, your brownies won’t stick, and cleanup will be a breeze!
2. Make the Batter:
Next, prepare the red velvet cake batter. If you’re using a box mix, follow the instructions on the package—combine the cake mix, eggs, vegetable oil, and water in a bowl. Use a whisk or electric mixer to blend until it’s smooth. If you’re using a homemade recipe, just make sure it’s nice and creamy!
3. Layer the Brownies:
Now it’s time to assemble! Spread half of the red velvet batter evenly in the prepared baking pan. Take half of the chopped Oreo cookies and sprinkle them over the batter, making sure to distribute them evenly. Then, pour the remaining red velvet batter over the Oreos, smoothing it out gently.
4. Add More Oreos:
Sprinkle the rest of the chopped Oreos on top of the brownie mixture. For a finishing touch, take the whole Oreo cookies and place them on top, pressing them in a bit so they stick into the batter. This will give your brownies an extra bit of crunch and deliciousness!
5. Bake and Cool:
Place your pan in the preheated oven and bake for 25-30 minutes. Keep an eye on them—when you stick a toothpick in the center, you want it to come out with a few moist crumbs, but not wet batter. Once done, take the brownies out of the oven and allow them to cool completely in the pan. This helps them set up nicely, making them easier to cut.
6. Slice and Serve:
When the brownies are completely cool, use a sharp knife to cut them into squares. Serve them at your next gathering or enjoy them as a special treat for yourself! Each bite will be a delightful mix of rich red velvet and creamy Oreo goodness. Enjoy!
These brownies will surely be a hit with friends and family, bringing smiles to every face. Happy baking!
Can I Use a Different Cake Mix?
Absolutely! While red velvet adds a nice flavor and color, you can use chocolate or even vanilla cake mix if you prefer. Just keep in mind that it will change the overall taste of the brownies!
How Should I Store Leftovers?
Store any leftover brownies in an airtight container at room temperature for up to 3 days. If you’d like them to last longer, refrigerate them for up to a week. You can also freeze them for up to 2 months—just wrap them tightly in plastic wrap and then in aluminum foil to prevent freezer burn.
Can I Make This Recipe Gluten-Free?
Yes, you can! Use a gluten-free red velvet cake mix instead of regular. Just make sure to check the ingredients of the Oreos, as some varieties may contain gluten. However, many gluten-free brands offer delicious alternatives!
What Can I Substitute for Vegetable Oil?
If you’re looking for an alternative, you can use melted coconut oil, canola oil, or even unsweetened applesauce for a healthier option. Just remember that using applesauce might change the texture a bit, making them more cake-like!