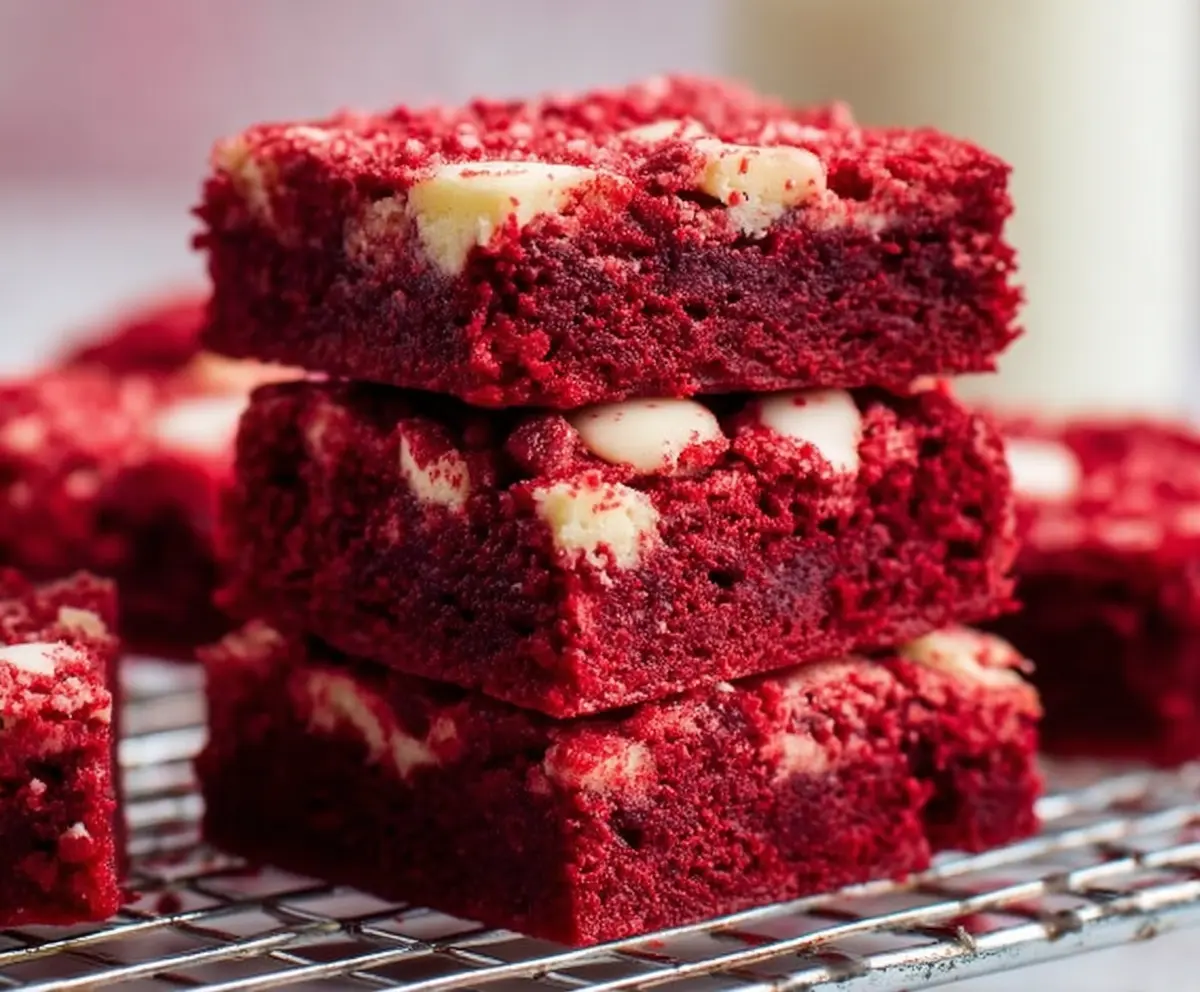
These Red Velvet Brownies are a fun twist on the classic treat! They have a rich red color and a fudgy texture that melts in your mouth. Topped with creamy frosting, they’re sure to impress!
Whenever I bake these brownies, they disappear in no time! Honestly, who can resist that color and tasty topping? They’re perfect for sharing—or keeping all to yourself! 😉
Key Ingredients & Substitutions
Unsalted Butter: Using unsalted butter lets you control the saltiness. If you’re out, coconut oil can be a great substitute—it adds a subtle flavor!
Sugar: Granulated sugar is essential for sweetness and texture. If you prefer less sugar, coconut sugar works well, but it may alter the color slightly.
Egg: A large egg binds everything together. If you’re vegan, a flaxseed meal (1 tablespoon ground flax mixed with 2.5 tablespoons water) works as a substitute.
Cocoa Powder: Unsweetened cocoa powder adds depth to the chocolate flavor. You can use Dutch-processed cocoa for a smoother taste, just reduce the baking powder.
Red Food Coloring: For that eye-catching look! If you’d rather avoid artificial coloring, use beet juice for a natural alternative, but the shade will differ.
White Chocolate Chips: They bring sweetness to the brownies! If white chocolate isn’t your favorite, dark chocolate or milk chocolate chips can easily replace them.
How Do I Get My Brownies to Be Perfectly Fudgy?
The key to fudgy brownies is using the right balance of wet and dry ingredients. Be sure not to overmix the batter after adding flour. This can create a cake-like texture, which isn’t what we want! Here’s how to ensure they come out perfectly:
- Mix wet and dry ingredients until just combined; it’s okay if there are some small flour pockets.
- Do not overbake! Check your brownies at 20 minutes; they should look set but still slightly moist inside.
- Let them cool completely before cutting. This helps them set and makes them easier to slice.

Delicious Red Velvet Brownies Recipe
Ingredients You’ll Need:
- 1/2 cup unsalted butter, melted
- 1 cup granulated sugar
- 1 large egg
- 1 teaspoon vanilla extract
- 1 tablespoon cocoa powder (unsweetened)
- 1 tablespoon red food coloring
- 1/4 teaspoon salt
- 1/2 cup all-purpose flour
- 1/4 teaspoon baking powder
- 1/2 cup white chocolate chips (plus a few extra for topping)
How Much Time Will You Need?
This recipe will take you about 10 minutes to prepare and around 20-25 minutes to bake. Then, you’ll want to let the brownies cool, which takes about 30 minutes. Overall, you’re looking at about an hour from start to finish (plus cooling time if you can resist!).
Step-by-Step Instructions:
1. Preheat and Prepare:
Start by preheating your oven to 350°F (175°C). Grab an 8-inch square baking pan, and grease it well. Then, line it with parchment paper, allowing some paper to hang over the edges. This will make it super easy to lift the brownies out later.
2. Mix the Wet Ingredients:
In a medium bowl, whisk the melted butter and sugar together until they are nicely combined and smooth. Then add the egg and vanilla extract, whisking until everything is well-blended. This is where the magic begins!
3. Combine the Dry Ingredients:
Now, sift in the cocoa powder, salt, flour, and baking powder directly into the butter-sugar mixture. Gently fold the dry ingredients in with a spatula—be careful not to overmix, since that can make your brownies tough!
4. Add the Color and Chips:
Stir in the red food coloring until the batter turns a vibrant red. Then, fold in the white chocolate chips for that delightful sweet surprise in every bite. Just a gentle fold; you want to keep the batter fluffy!
5. Bake the Brownies:
Pour the batter into your prepared baking pan, spreading it out evenly. For a lovely touch, sprinkle a few extra white chocolate chips on top. Pop them in the oven and bake for 20-25 minutes. To check for doneness, insert a toothpick into the center—it should come out with a few moist crumbs.
6. Cool and Serve:
Once they’re done, remove the brownies from the oven and let them cool completely in the pan on a wire rack. This will take about 30 minutes. After they’re cooled, use the parchment overhang to lift them out, and cut them into squares. Enjoy your delicious Red Velvet Brownies!
Can I Use a Different Type of Chocolate in These Brownies?
Absolutely! While white chocolate chips add a nice sweetness, you can easily substitute them with dark or milk chocolate chips if you prefer. Just keep in mind that the flavor profile will change slightly based on your choice!
Can I Make These Brownies Ahead of Time?
Yes, you can! These brownies can be made a day in advance. Just store them in an airtight container at room temperature. If you want them to stay extra fresh, you can refrigerate them, but make sure to let them come to room temperature before serving for the best texture.
How Do I Store Leftovers?
Any leftover brownies can be stored in an airtight container at room temperature for up to 3 days. If you want to keep them longer, you can freeze them in a freezer-safe container for up to 3 months. Just thaw them in the fridge overnight when you’re ready to enjoy them again!
Can I Make These Brownies Gluten-Free?
Yes! To make gluten-free brownies, simply substitute the all-purpose flour with a 1:1 gluten-free baking flour blend. Be sure to check the blend to ensure it has xanthan gum or add a small amount if it doesn’t, as it helps with the texture.