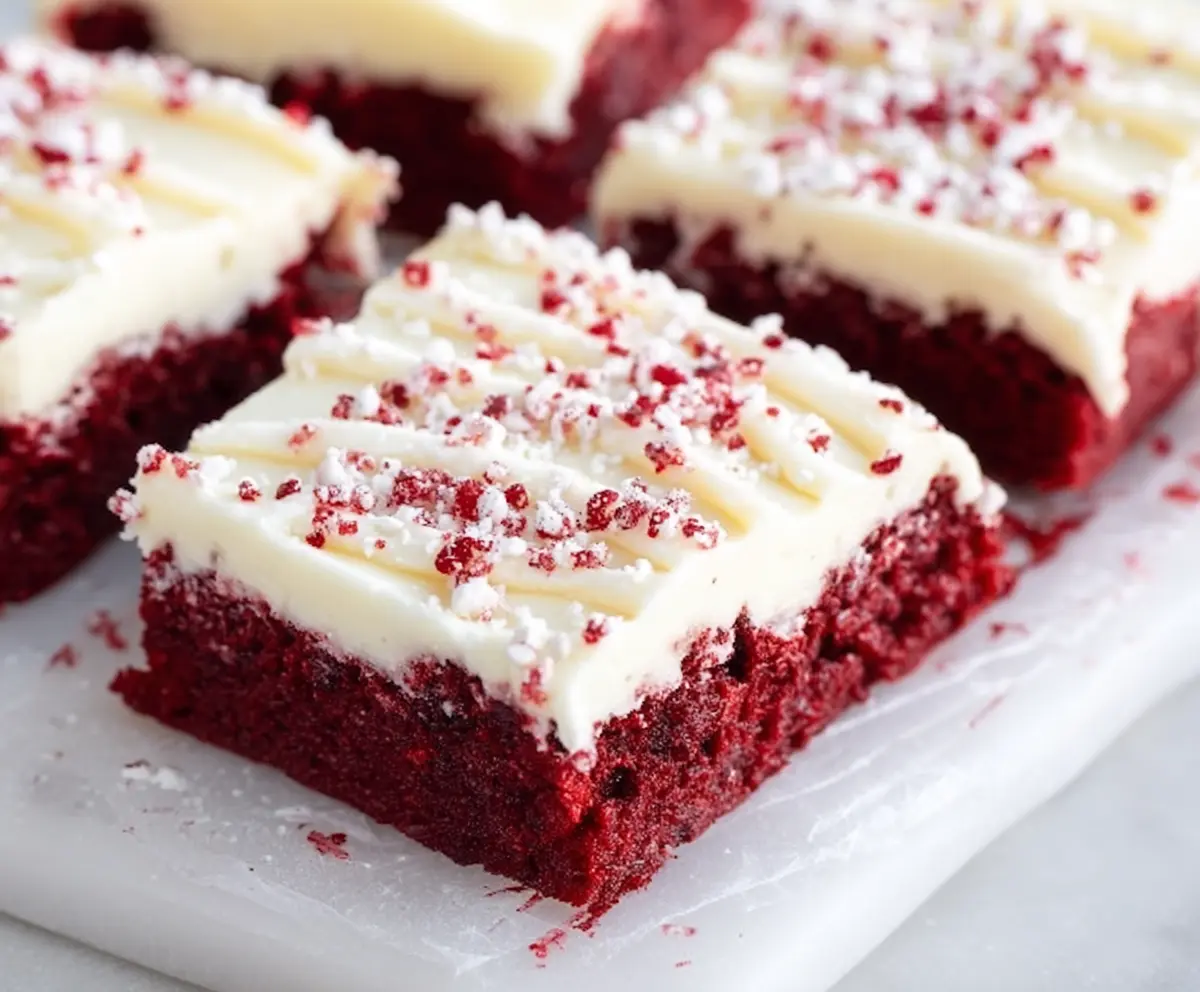
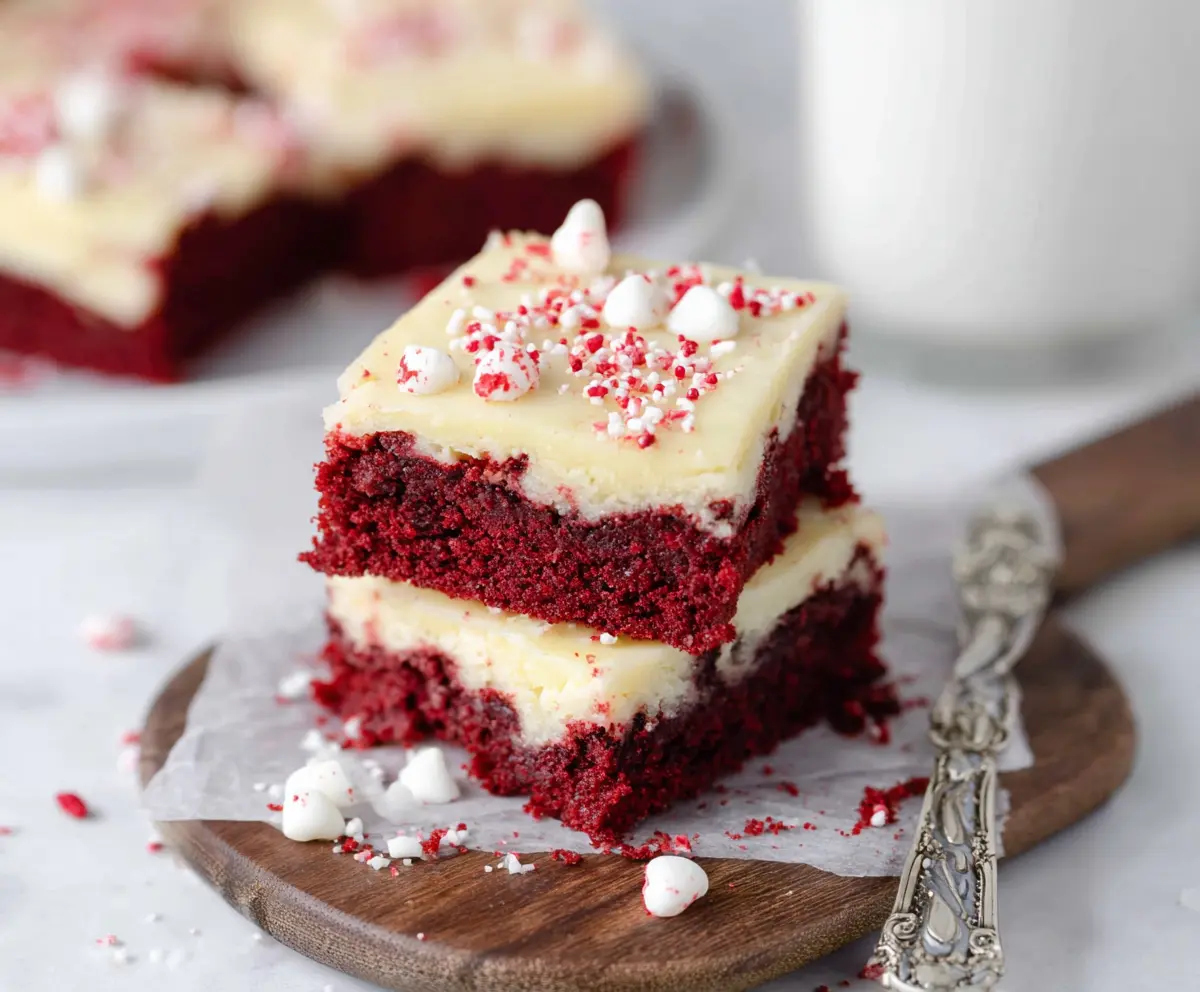
These Red Velvet Cookie Bars are a fun and festive treat! They’re soft, chewy, and have that classic red velvet flavor with a hint of cocoa. Top them with cream cheese frosting for a delicious finish!
I love how easy these cookie bars are to make—just mix, bake, and enjoy! Perfect for sharing at parties or just munching on at home while binge-watching your favorite show. 🍪❤️
Key Ingredients & Substitutions
Unsalted Butter: This is crucial for rich flavor. If you’re looking for a dairy-free option, you can use coconut oil or a dairy-free margarine.
Granulated Sugar: White sugar gives the best texture, but brown sugar can add a slight chewiness. If you’re watching sugar intake, coconut sugar is a great substitute!
Red Food Coloring: I prefer gel food coloring for vibrant color without adding too much liquid. If you want a natural alternative, try beet juice, but note it may alter the flavor slightly.
Cream Cheese: This is essential for that classic frosting. If you want a lighter option, use Greek yogurt or a dairy-free cream cheese alternative.
How Do I Ensure My Cookie Bars Are Perfectly Baked?
Baking time is key to achieving that perfect texture! Here’s how to check for doneness:
- Start checking around the 18-minute mark.
- Insert a toothpick into the center; if it comes out with a few moist crumbs, they’re done.
- Don’t be tempted to bake longer, as they can dry out quickly.
Cooling is equally important. Let them cool in the pan on a wire rack, which helps set the edges and keeps them from getting soggy. Happy baking!
How to Make Red Velvet Cookie Bars
Ingredients You’ll Need:
- For the Cookie Bars:
- 1 cup (2 sticks) unsalted butter, softened
- 1 cup granulated sugar
- 1 large egg
- 1 teaspoon vanilla extract
- 1 tablespoon red food coloring
- 1 ½ cups all-purpose flour
- 1 tablespoon cocoa powder
- ½ teaspoon baking soda
- ¼ teaspoon salt
- For the Cream Cheese Frosting:
- 4 oz cream cheese, softened
- ¼ cup (½ stick) unsalted butter, softened
- 1 ½ cups powdered sugar, sifted
- ½ teaspoon vanilla extract
- Red velvet cake crumbs or red sprinkles (optional, for garnish)
How Much Time Will You Need?
This recipe takes about 15 minutes to prep and around 20 minutes to bake. Allow some time for cooling before frosting, which will take about 30 minutes. Overall, expect to spend around 1 hour total before you can dig into these delicious bars!
Step-by-Step Instructions:
1. Preheat Your Oven:
Start by preheating your oven to 350°F (175°C). While it heats up, line a 9×9-inch baking pan with parchment paper or simply grease it with a bit of butter. This helps with easy removal later!
2. Cream the Butter and Sugar:
In a large mixing bowl, use a hand mixer or stand mixer to cream together the softened butter and granulated sugar. Mix this until it’s light and fluffy, which should take about 2-3 minutes. This step is important for the texture of your cookie bars!
3. Add the Wet Ingredients:
Next, beat in the egg until fully combined. Then mix in the vanilla extract and your red food coloring. Continue mixing until the batter is a lovely even red color.
4. Combine the Dry Ingredients:
In a separate bowl, sift together the all-purpose flour, cocoa powder, baking soda, and salt. Mixing the dry ingredients separately helps ensure an even distribution of the leavening agent.
5. Mix It All Together:
Gradually add the dry ingredient mixture into the wet mixture. Use a spatula or your mixer on low speed just until everything is combined. Be careful not to overmix, as this can make your bars tough!
6. Bake the Bars:
Spread the red velvet batter evenly into the lined or greased baking pan. Pop it into your preheated oven and bake for 18-22 minutes. Keep an eye on it and check for doneness by inserting a toothpick into the center. If it comes out with a few moist crumbs, you’re all set!
7. Cool Completely:
Once baked, take the pan out of the oven and allow the bars to cool completely in the pan on a wire rack. This usually takes about 30 minutes. Cooling is essential so the frosting doesn’t melt off!
8. Prepare the Frosting:
While the bars are cooling, make the cream cheese frosting. In a medium bowl, beat the softened cream cheese and butter together until smooth and creamy. Gradually add in the powdered sugar and vanilla extract, mixing until everything is well combined and spreadable.
9. Frost & Garnish:
Once your cookie bars are completely cooled, spread the cream cheese frosting evenly over the top. If you’d like, sprinkle some red velvet cake crumbs or red sprinkles on top for an extra festive touch!
10. Cut & Serve:
Finally, cut the cookie bars into squares. Serve and enjoy! Any leftovers can be stored in an airtight container in the refrigerator for a few days, if they last that long!
Enjoy your delicious, moist, and creamy Red Velvet Cookie Bars! Perfect for any occasion! 🎉
Can I Use a Different Type of Flour?
Yes, you can substitute all-purpose flour with gluten-free flour or almond flour, but the texture may vary slightly. If using gluten-free flour, ensure it has a binding agent like xanthan gum for best results.
What Can I Use Instead of Red Food Coloring?
If you’d prefer a natural alternative, consider using beet juice or pomegranate juice for color. Just be aware that these may alter the flavor slightly compared to traditional food coloring.
How Do I Store Leftover Cookie Bars?
Store any leftover cookie bars in an airtight container in the refrigerator. They will stay fresh for up to 3-4 days. If you want to freeze them, layer them between parchment paper in a freezer-friendly container, where they can last for about 3 months!
Can I Make These Bars Ahead of Time?
Absolutely! You can bake the cookie bars up to 2 days in advance. Just keep them in an airtight container until you’re ready to frost and serve. Frost just before serving for the best flavor and texture!