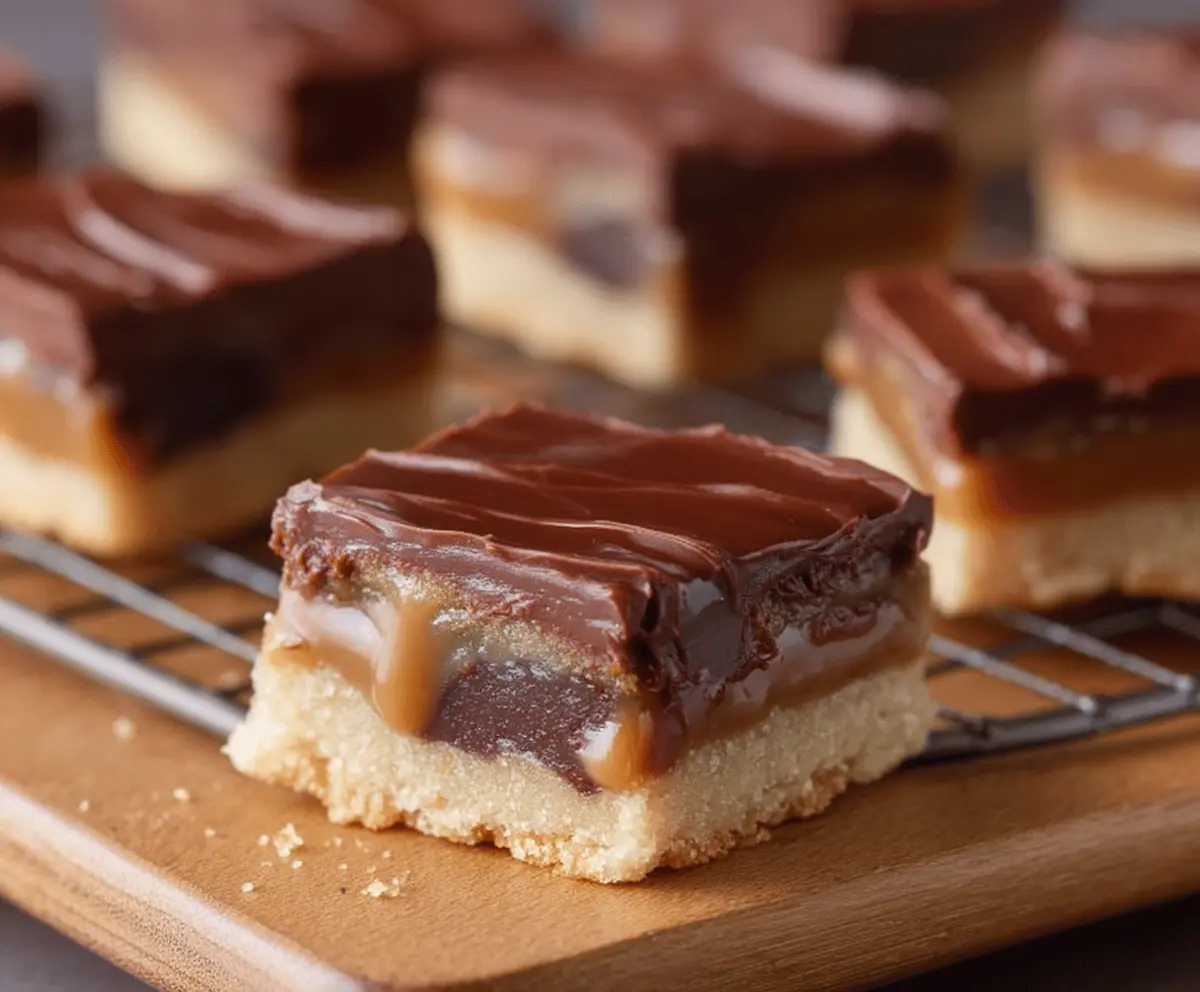
These Twix Cookie Bars are a fun treat that mixes cookie dough with a creamy caramel layer and chocolate on top. Quick and easy, they bring a favorite candy bar to life in a new way!
Warning: they’re super addictive! You’ll find yourself going back for seconds (and thirds). I love cutting them into small squares—they’re perfect for sharing or keeping for myself! 😂
Key Ingredients & Substitutions
All-Purpose Flour: It provides structure to the bars. If you’re gluten-free, you can substitute it with a gluten-free flour blend.
Unsalted Butter: I prefer using unsalted to control the saltiness. You can replace it with coconut oil or a dairy-free butter for a vegan option.
Soft Caramel Candies: For a quick melt, go with soft caramels. If you can’t find those, make your own caramel or use a can of store-bought caramel topping.
Semi-Sweet Chocolate Chips: These are perfect for the topping. Dark chocolate chips or milk chocolate can also be used, depending on your sweetness preference.
What’s the Best Way to Layer the Ingredients?
Layering the bars correctly is essential for that Twix-like experience. Start with the cookie base. Press it down evenly; this ensures the cookie layers bake well. Cool it slightly before adding the caramel, which helps prevent it from sinking into the cookie.
- Make sure the cookie is warm but not hot when pouring on the caramel to avoid melting it.
- Allow the caramel to cool and set for about 15 minutes; this creates a nice, gooey layer.
- When spreading the chocolate, work quickly to cover the caramel, and use off-set spatulas for a smooth finish.
Twix Cookie Bars
Ingredients You’ll Need:
- 2 cups all-purpose flour
- 1/2 teaspoon baking powder
- 1 cup unsalted butter, melted
- 1 cup granulated sugar
- 2 teaspoons vanilla extract
- 1/2 cup mini chocolate chips
- 1 (14-ounce) bag soft caramel candies or caramel squares (about 40 pieces)
- 2 tablespoons heavy cream (for melting caramel)
- 1 1/2 cups semi-sweet chocolate chips
- 2 tablespoons unsalted butter (for chocolate topping)
- Sea salt flakes, for sprinkling (optional)
How Much Time Will You Need?
This delightful recipe takes about 20 minutes to prepare and then an additional 2 hours for chilling. The baking takes around 18-20 minutes, so you’ll have your tasty Twix Cookie Bars ready to enjoy in less than 3 hours total!
Step-by-Step Instructions:
1. Preheat the Oven and Prepare the Pan:
Start by heating your oven to 350°F (175°C). Take a 9×13-inch baking pan and line it with parchment paper or foil, allowing some overhang. This will make it easier to lift the bars out later!
2. Mix the Dry Ingredients:
In a medium bowl, whisk together the flour and baking powder until combined. This creates a light base for your cookie bars.
3. Combine Wet Ingredients:
In a large bowl, mix the melted butter, granulated sugar, and vanilla extract. Stir this mixture until it becomes smooth and creamy.
4. Form the Dough:
Add the flour mixture to the bowl with the wet ingredients. Stir well until a crumbly dough forms. Gently fold in the mini chocolate chips for that extra chocolaty surprise!
5. Bake the Cookie Base:
Press the cookie dough evenly into the bottom of the prepared pan to create your base layer. Bake in the preheated oven for about 18-20 minutes or until the edges are golden brown and the dough is set. Set the pan aside to cool slightly.
6. Prepare the Caramel Layer:
While the cookie base is cooling, put the soft caramel candies and heavy cream into a microwave-safe bowl. Microwave in 30-second intervals, stirring between each, until the caramel is completely melted and smooth.
7. Add the Caramel:
Pour the melted caramel evenly over the warm cookie base. Use a spatula to spread it out evenly. Let this cool and set for about 15 minutes at room temperature.
8. Make the Chocolate Topping:
In the same way as the caramel, melt the chocolate chips and additional 2 tablespoons of butter together in a microwave-safe bowl, using 30-second intervals. Stir until smooth and combine.
9. Assemble the Bars:
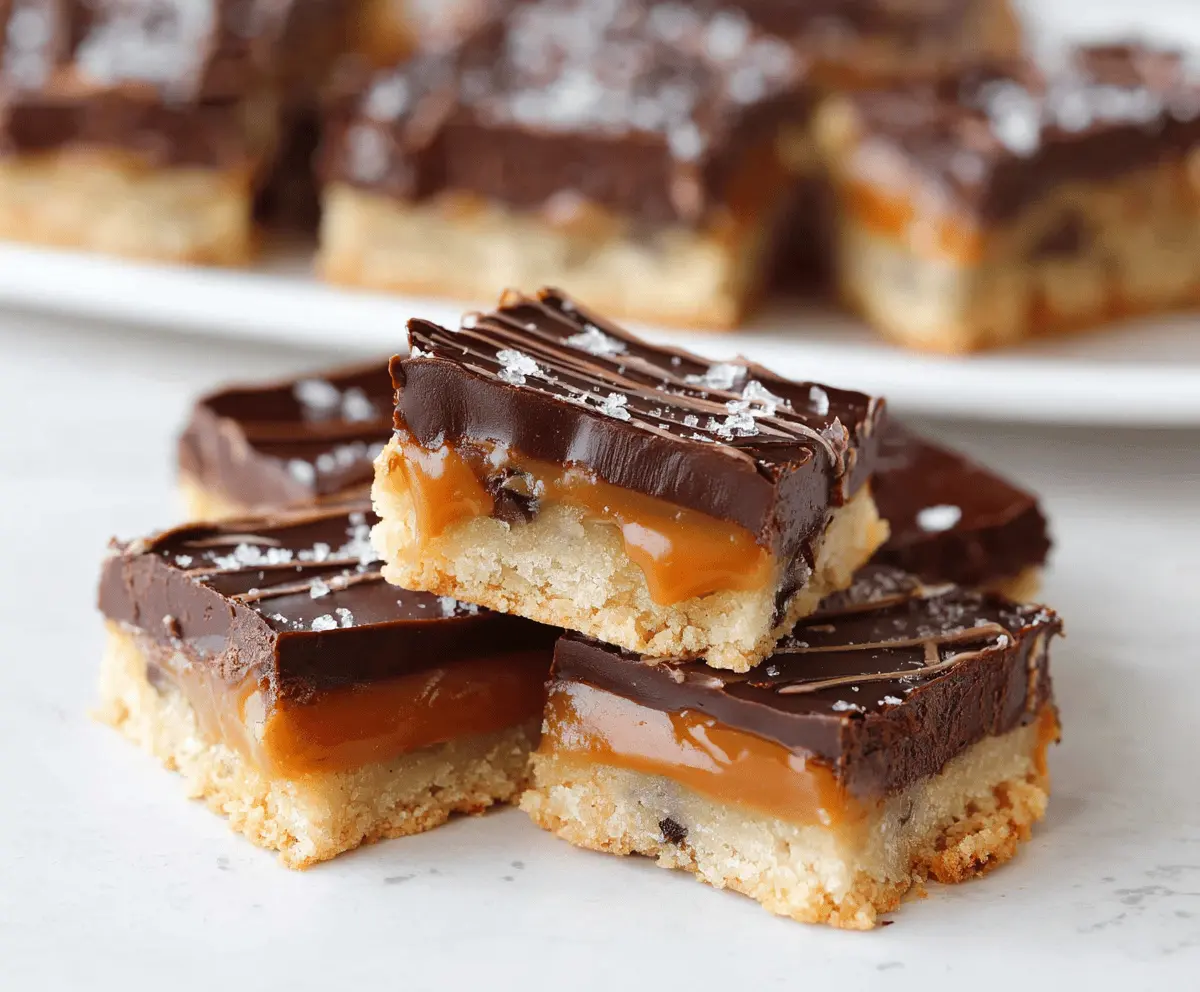
Spread the melted chocolate evenly over the caramel layer. Sprinkle with sea salt flakes if you like that sweet and salty combo!
10. Chill and Cut:
Refrigerate the bars for at least 2 hours or until the chocolate has completely set. Once firm, use the parchment paper or foil overhang to lift the bars out of the pan. Cut into squares and serve!
Enjoy your homemade Twix Cookie Bars, deliciously layered with cookie, gooey caramel, and rich chocolate. They’re so good, you might just want to keep them all to yourself!
Can I Use Different Types of Chocolate?
Absolutely! You can substitute semi-sweet chocolate chips with milk chocolate for a sweeter taste or dark chocolate for a richer flavor. Just keep in mind that the sweetness level will vary depending on your choice!
How Should I Store Leftover Bars?
Store any leftover Twix Cookie Bars in an airtight container at room temperature for about 3-5 days. If you want them to last longer, you can refrigerate them, where they’ll stay fresh for up to a week.
Can I Make These Bars Gluten-Free?
Yes! Simply substitute the all-purpose flour with a gluten-free flour blend. Make sure the other ingredients, especially the chocolate and caramel, are also gluten-free to avoid any cross-contamination.
What If My Caramel Is Too Sticky?
If your caramel turns out really sticky and hard to spread, try warming it slightly in the microwave for a few seconds. You can also add a teaspoon more of heavy cream to make it smoother when melting.